
What You’ll Build
A router workflow that:- Captures request context with a Signal.
- Normalizes routing context with a Projection.
- Applies a Decision rule.
- Selects an endpoint with an Algorithm.
- Exposes the router through
v1/chat/completions.
Prerequisites
- Access to Bud AI Foundry.
- At least one project.
- One or more deployed endpoints that can serve chat completion requests.
- An API key for testing the router after it is saved.
Step 1: Create the Router Draft
- Navigate to Router in the sidebar.
- Click + Router.
- Configure:
- Name:
support-routing-router - Description:
Routes support prompts to the best available endpoint
- Name:
- Click Next.
- Select the target project.
- Click Create Draft.
Step 2: Open the Router Detail Page
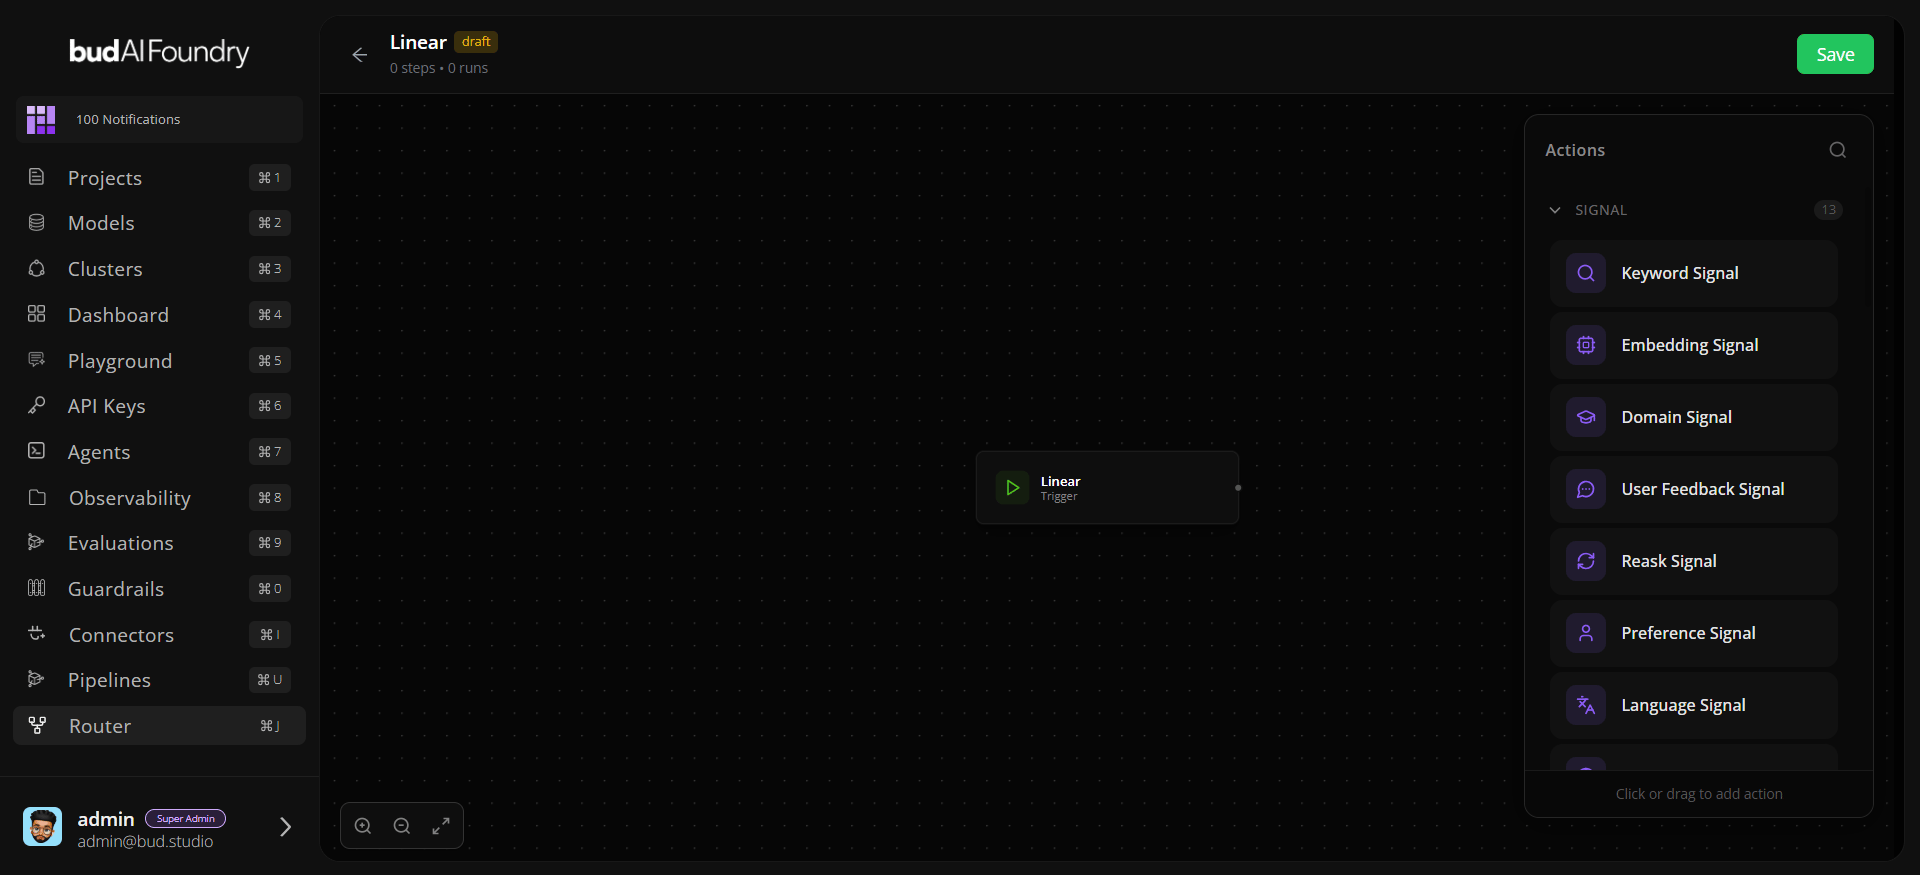
From the success screen, click View Router. The page loads:- Router metadata and status.
- Current
dag_config. - Action metadata from
/routers/actions. - Data sources for clusters, models, projects, providers, credentials, and endpoints.
Step 3: Add a Signal
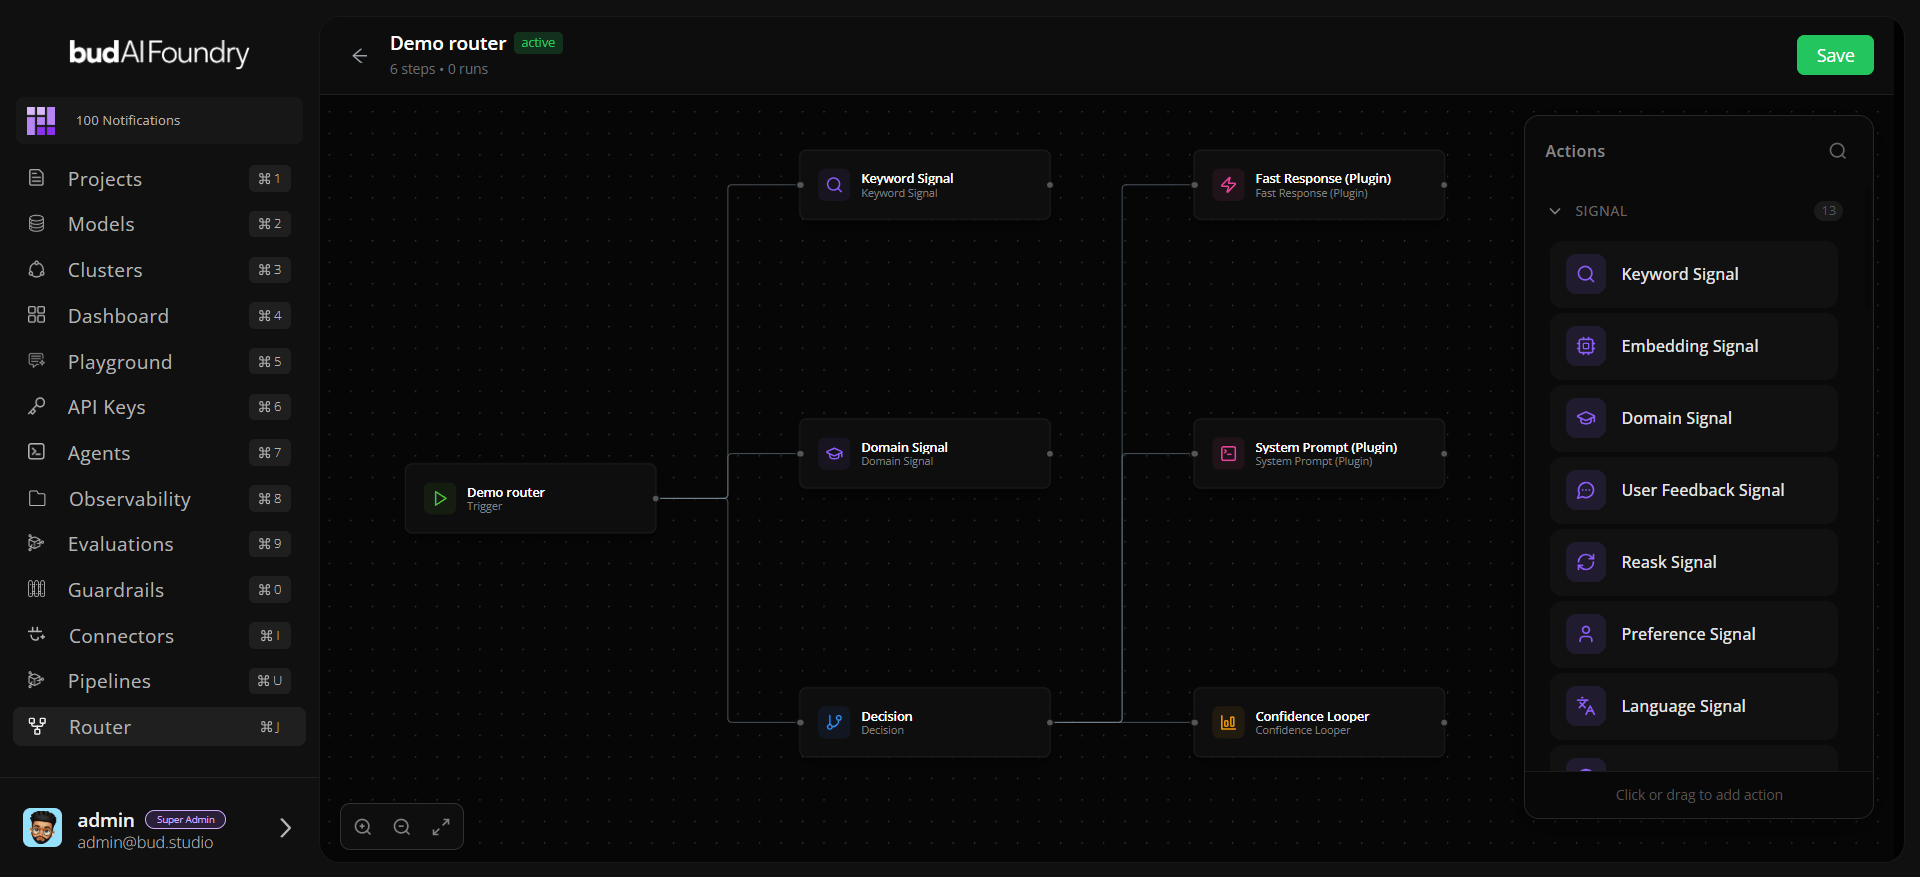
- Add a Signal action from the actions catalog.
- Name it
Classify Request. - Configure required parameters for the selected signal action.
- Leave it connected from the Trigger.
Step 4: Add a Projection
- Add a Projection action.
- Name it
Build Routing Context. - Configure the projection fields or template required by the action.
- Connect Trigger → Projection.
Step 5: Add a Decision
- Add a Decision action.
- Name it
Choose Route. - Connect Trigger → Decision.
- Configure the decision rule to reference your signal or projection output.
Decisions evaluate in the routing layer. Do not chain Decision → Decision; use rule priority or branches inside the decision configuration instead.
Step 6: Add an Algorithm
- Add an Algorithm action.
- Name it
Select Endpoint. - Connect Decision → Algorithm.
- Configure endpoint selection parameters, such as endpoint lists, weights, or fallback order, depending on the action schema.
Step 7: Save the Router
Click Save. If validation fails, review the notification details and update the highlighted action parameters. When save succeeds, Bud marks the router asactive.
Step 8: Test the Router
Open Use Router from the router card and copy a snippet. Use the router name as themodel field:
Production Checklist
- Use a descriptive router name because clients pass it as
model. - Confirm every action has required parameters.
- Verify Decision → Algorithm or Decision → Plugin connections.
- Keep endpoint lists current as deployments change.
- Test with representative prompts before sharing snippets with application teams.