Step 1: Open Projects
- Sign in to Bud AI Foundry.
- In the left navigation, click Projects.
- Click + Project.
Step 2: Create the Project
- Enter a project name, for example:
Customer Support AI. - Add a short description and tags.
- Pick an icon to make the project easy to identify.
- Click Next to create project.
- Proceed to the Invite members step.
Use names that map to a product or business capability. This makes routing, access reviews, and observability easier at scale.
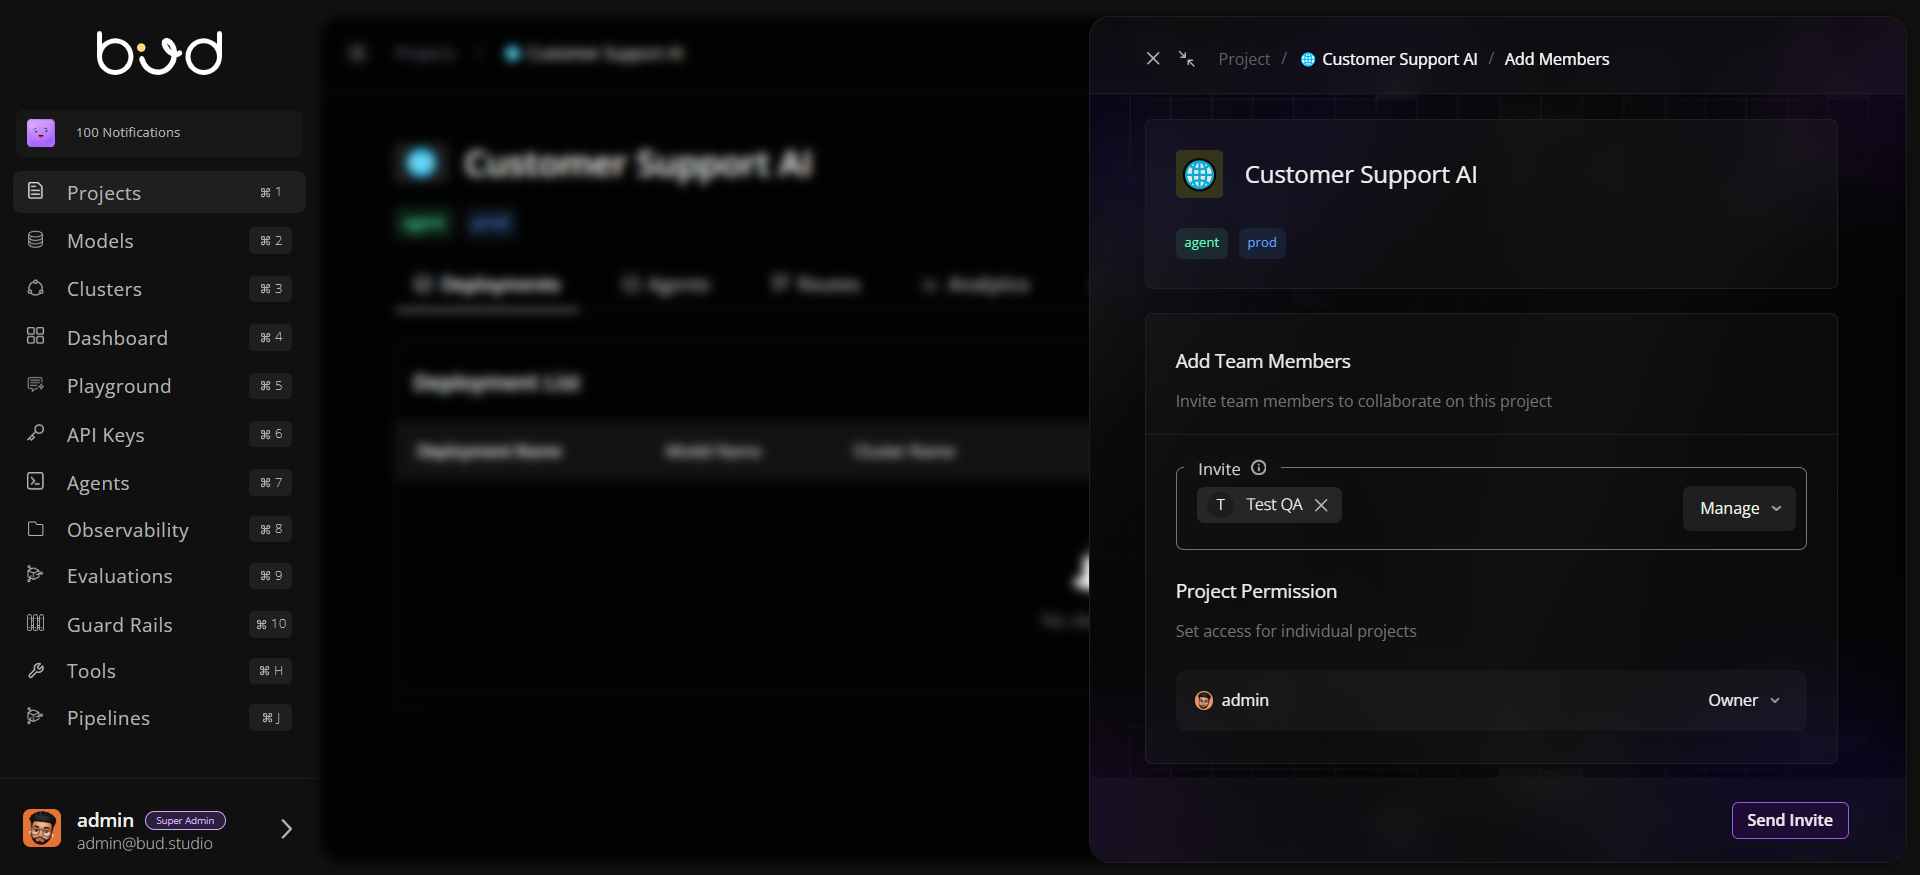
Step 3: Add Members
- Open the created project.
- Use Share/Invite to add collaborators.
- Assign permissions (view/manage) based on responsibilities.
- Save changes and verify members appear in the project header or member list.
Step 4: Validate Project Tabs
Open each core tab and confirm it loads correctly:- Deployments
- Agents
- Routes
- Analytics
- Clusters
- Observability
- Guardrails
Step 5: Prepare for First Deployment
- Go to Deployments.
- Click Deploy Model (or equivalent action in your environment).
- Select a model and target cluster.
- Review status once deployment starts.

Step 6: Configure Baseline Reliability
After deployment is active, open deployment Settings and configure:- Rate limiting
- Retry/fallback behavior
- Autoscaling bounds (minimum/maximum replicas)
Next Steps
Project Concepts
Learn how projects map to permissions, operations, and governance
Troubleshooting
Resolve common issues when creating and managing projects