What You’ll Build
In this walkthrough, you will create a deployment, validate runtime health, use endpoint snippets, add reliability settings, and optionally publish it to the Customer Dashboard portal.Prerequisites
- Access to a project workspace
- Permission to manage deployments
- At least one available model source and cluster target
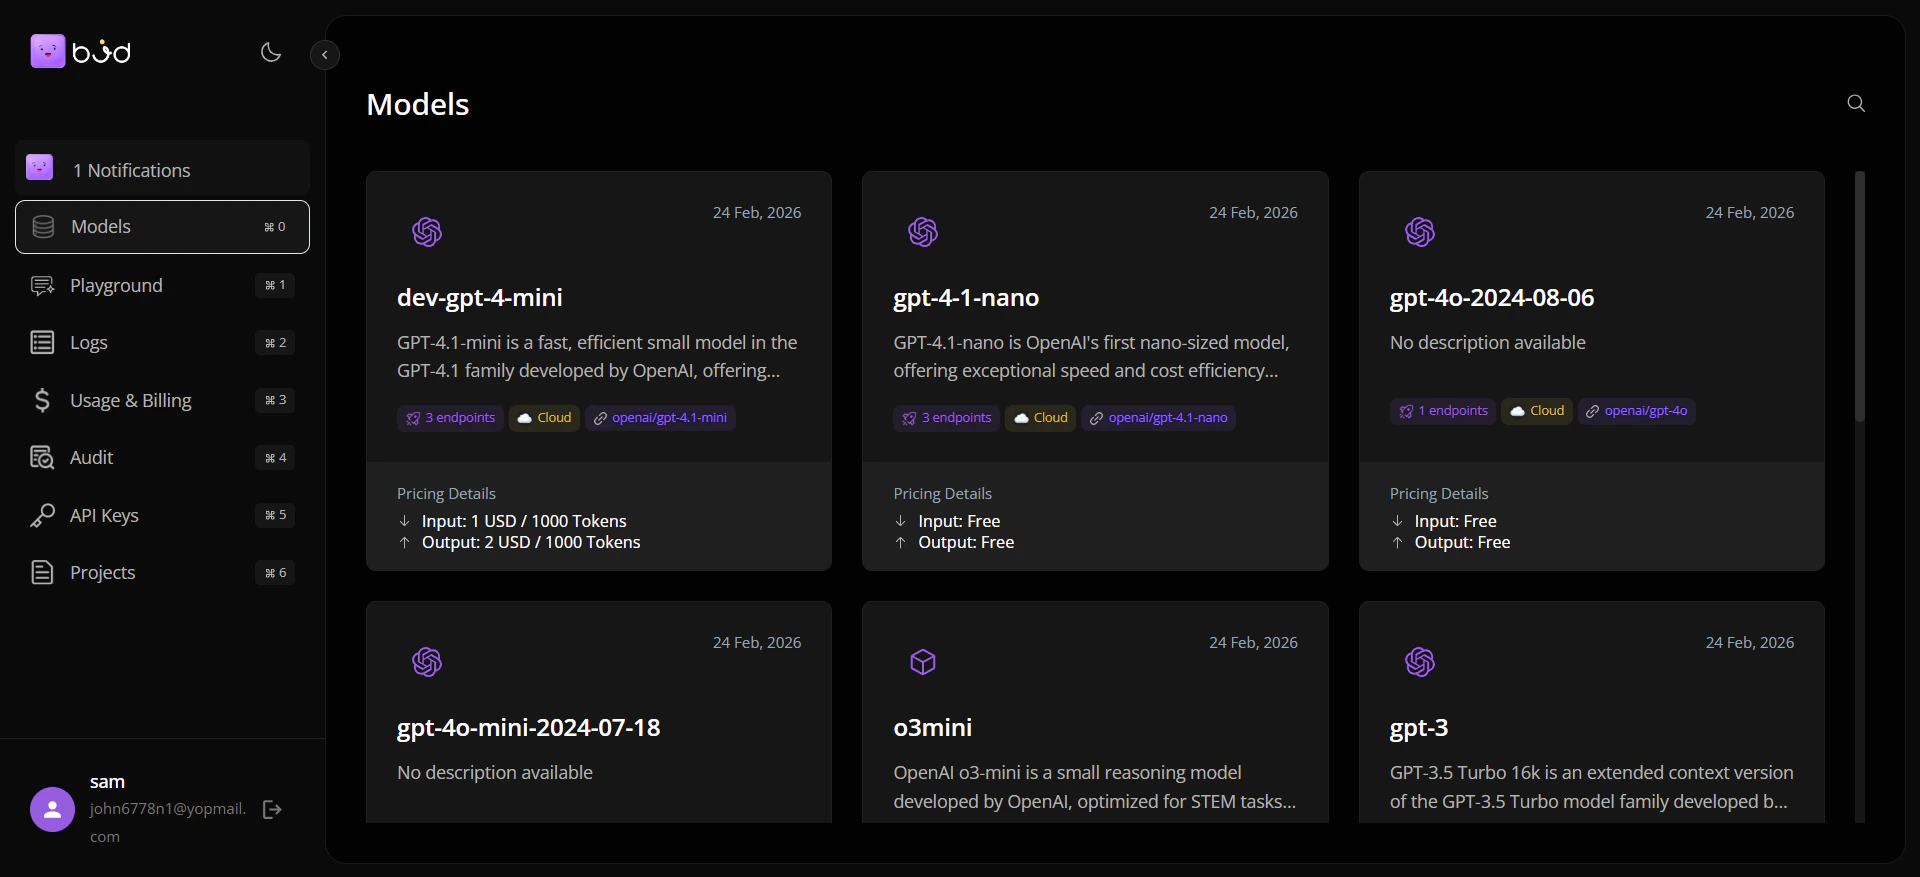
Step 1: Navigate to Deployments
- Open Projects.
- Select your project.
- Click Deployments.
Step 2: Start Deployment Creation
- Click Deploy Model.
- Choose model source.
- Select cluster and template/use-case profile.
Step 3: Configure Runtime Targets
- Enter deployment name.
- Set concurrency and performance targets.
- Review context/sequence-related runtime fields as applicable.
Step 4: Launch and Validate
- Submit the deployment.
- Open its detail page.
- Confirm General tab status is healthy.
- If local, verify Workers activity.
Step 5: Harden Reliability Settings
- Open Settings.
- Configure rate limiting strategy and quotas.
- Add retry and fallback logic.
- Save changes.
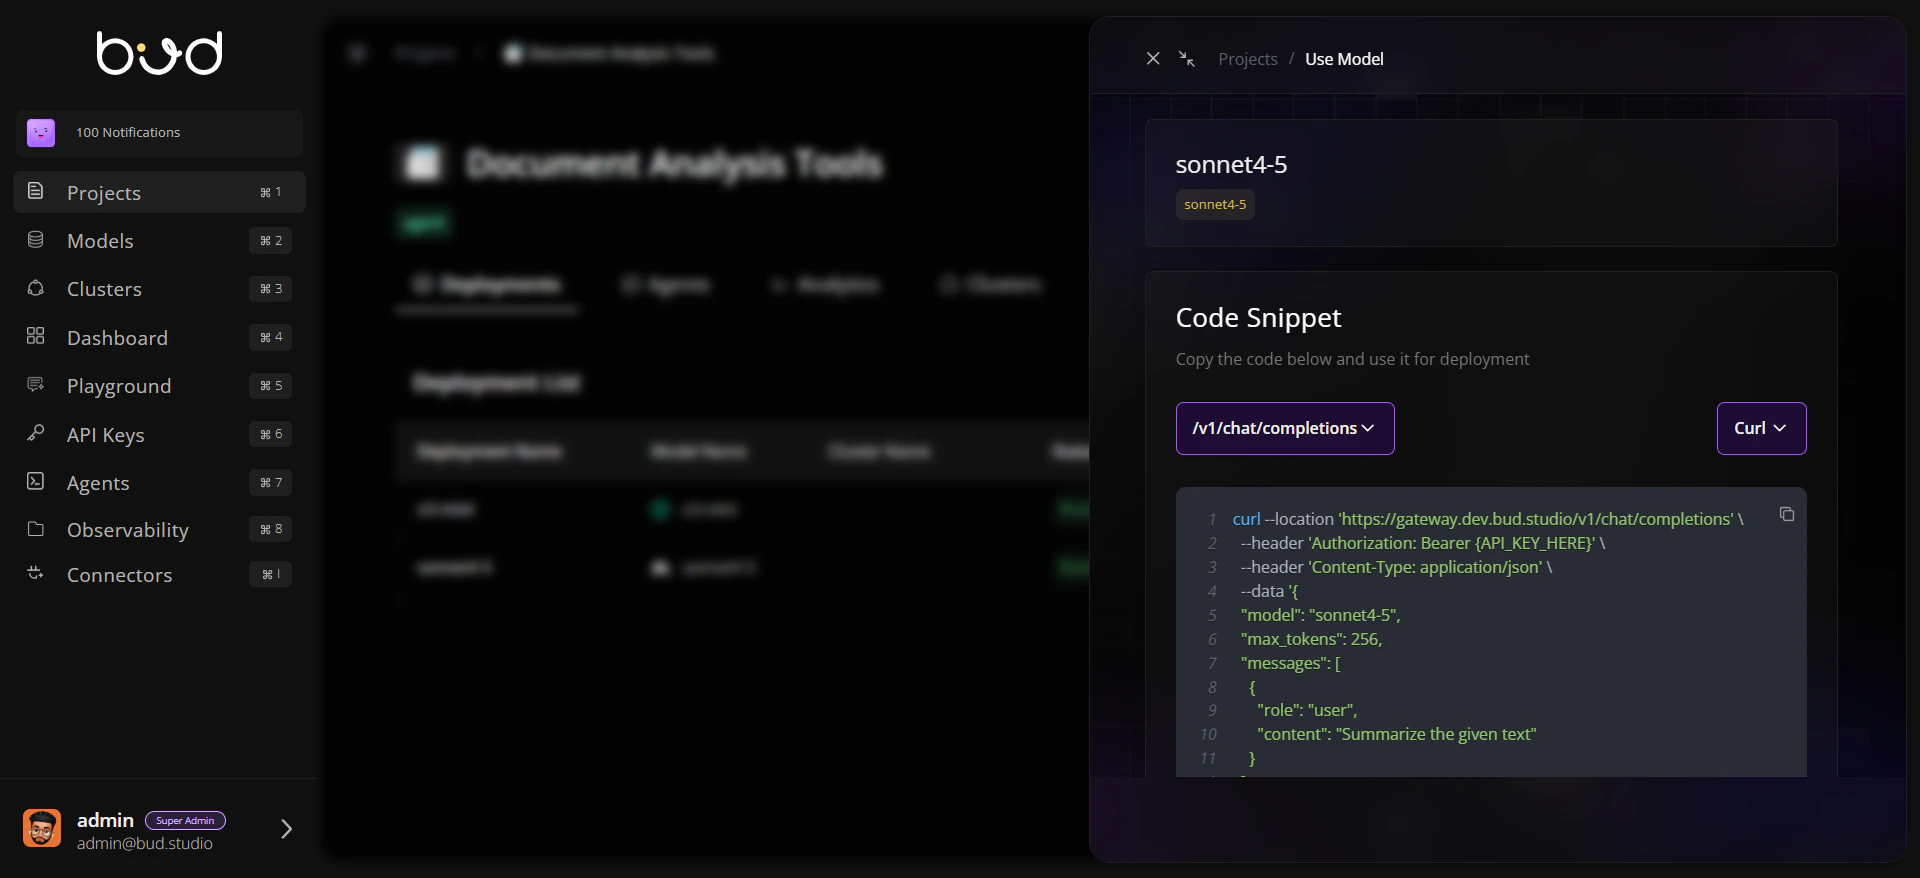
Step 6: Use This Model for Integration
- Click Use this model from the deployment row or detail page.
- Copy cURL/Python/JavaScript snippet.
- Run a test request from your application or API client.
Step 7: Publish for Customer Dashboard (Optional)
- Return to Deployments table.
- Click Publish and provide pricing metadata.
- Confirm the model is available in the Customer Dashboard portal.
End-to-End Flow
Best Practices
- Use clear, environment-aware naming conventions for deployments.
- Validate deployment status before sharing snippets or publishing.
- Keep Use this model for direct API integration workflows.
- Use Publish only when the deployment should appear in the customer-facing portal.