What you’ll build
A production-ready model entry that includes:- source configuration,
- searchable metadata,
- readiness verification,
- baseline validation for team usage.
Prerequisites
- Access to Bud AI Foundry.
- Permissions to create models.
- Valid source credentials or artifact access.
Step 1: Create a new model
- Open Models.
- Click + Model.
- Choose a modality that matches your use case.
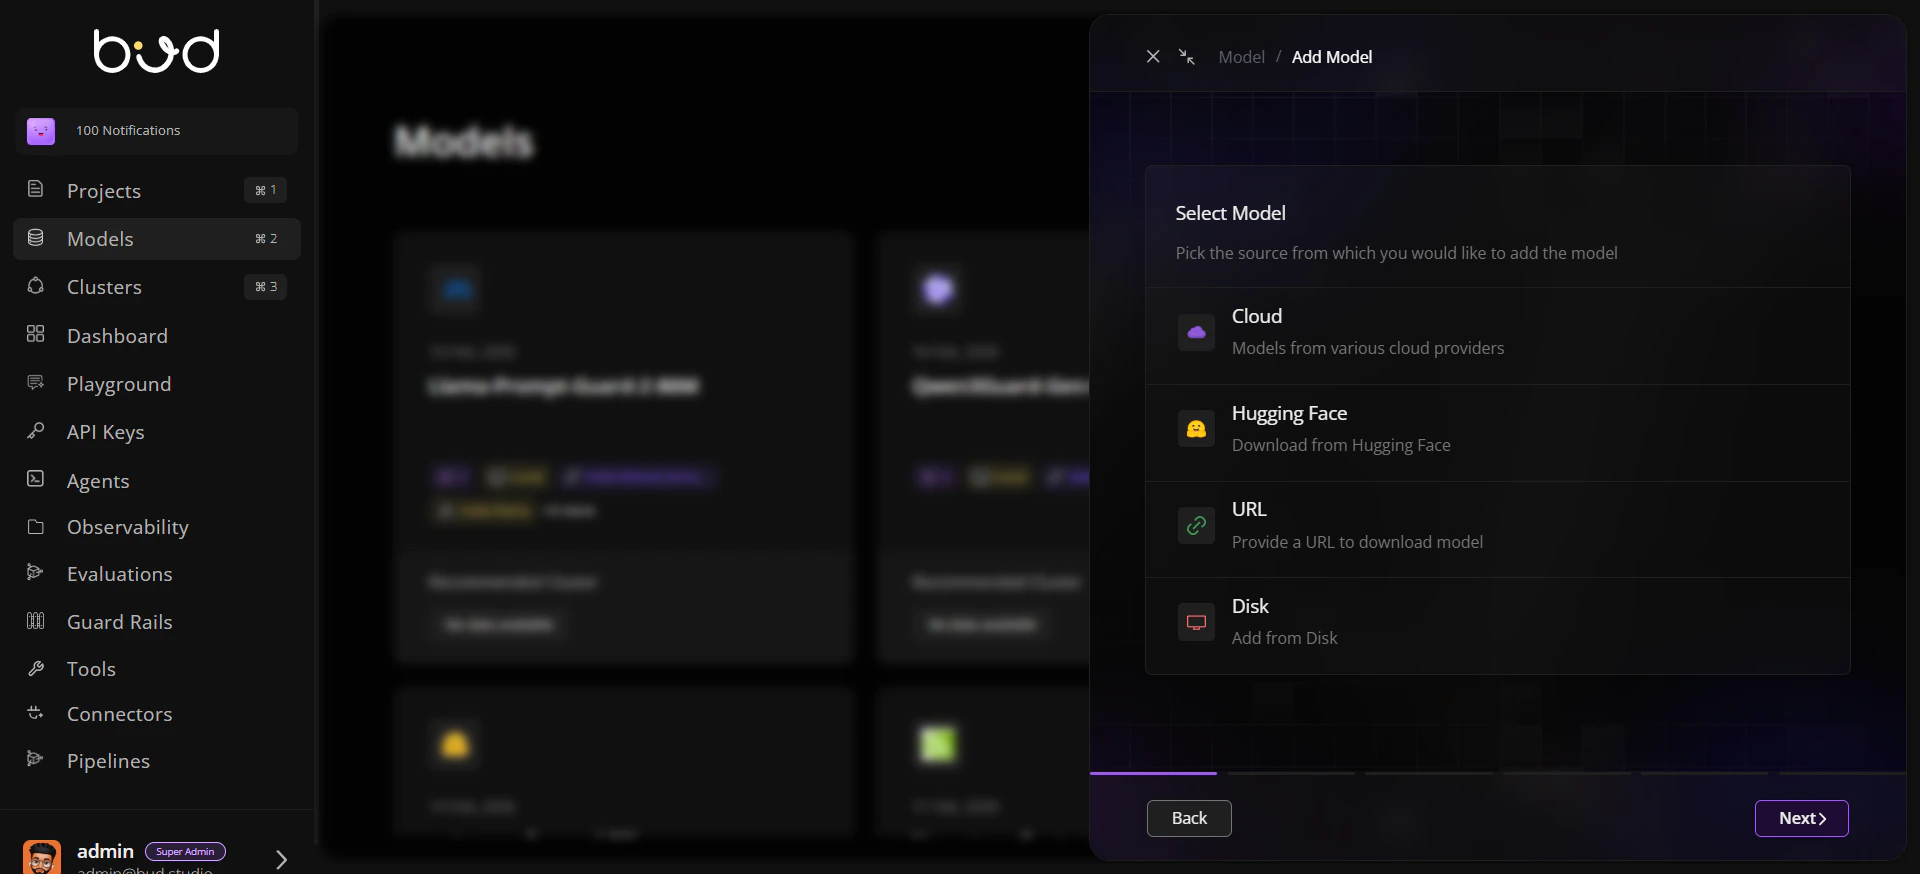
Step 2: Pick source and connect
Choose one source path:- Cloud: select provider and model.
- Hugging Face: provide model identifier.
- URL: add approved download URL.
- Disk: specify server/mounted path.
Step 3: Add governance metadata
Populate metadata fields before submission:- name and description,
- owner/author,
- tags and tasks,
- relevant public links.
Step 4: Submit onboarding
- Confirm details.
- Submit the form.
- Wait for ingestion and validation updates.
Step 5: Review model details
Open the model detail view and verify:- source and modality,
- verification and scan indicators,
- compatibility context for downstream deployment.
Step 6: Validate discoverability
- Return to repository list.
- Search/filter by name, source, or tags.
- Confirm the model appears for intended teams.
Step 7: Optional baseline checks
- Run a security scan if required.
- Trigger benchmark/evaluation workflows for baseline quality and performance evidence.
Expected result
Your model is successfully onboarded and visible in the repository.
Verification signals are available for governance review.
The model is ready for deployment and project workflows.
Next steps
Model concepts
Understand lifecycle and governance states.
Security and verification
Apply trust controls before production usage.
Performance benchmarks
Compare latency and throughput across options.