What You’ll Build
In this walkthrough, you will:- Register a new or existing cluster.
- Validate health and node readiness.
- Review running deployments on the cluster.
- Configure default storage settings.
Prerequisites
- Access to Bud Admin with cluster management permissions.
- Kubernetes cluster details (provider context, kube config, and ingress URL as needed).
- Network path from Bud control plane to cluster APIs.
Step 1: Start Cluster Onboarding
- Go to Clusters.
- Click + Cluster.
- Select Create New Cluster or Connect to Existing Cluster.
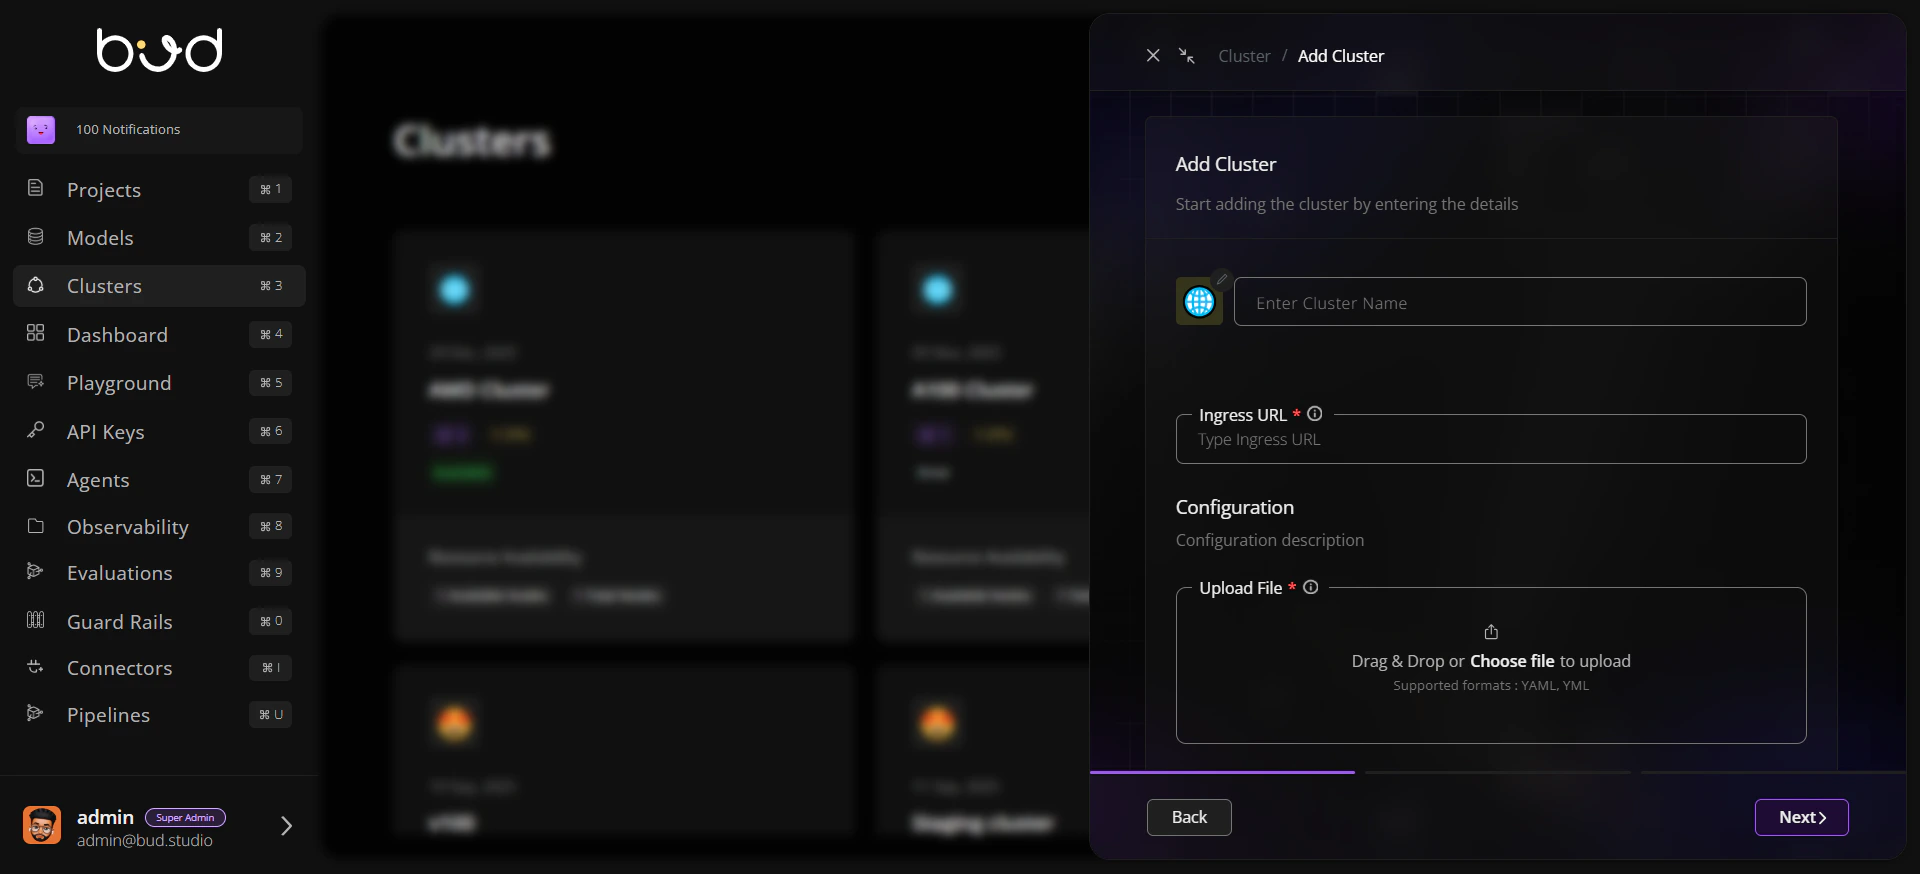
Step 2: Enter Core Configuration
- Set cluster name and icon/identifier.
- Choose provider or upload existing cluster configuration.
- Provide ingress URL and required connection details.
- Continue to submit onboarding.
Step 3: Confirm in Cluster Listing
- Return to cluster list view.
- Verify the new cluster appears.
- Review endpoint and hardware indicators.
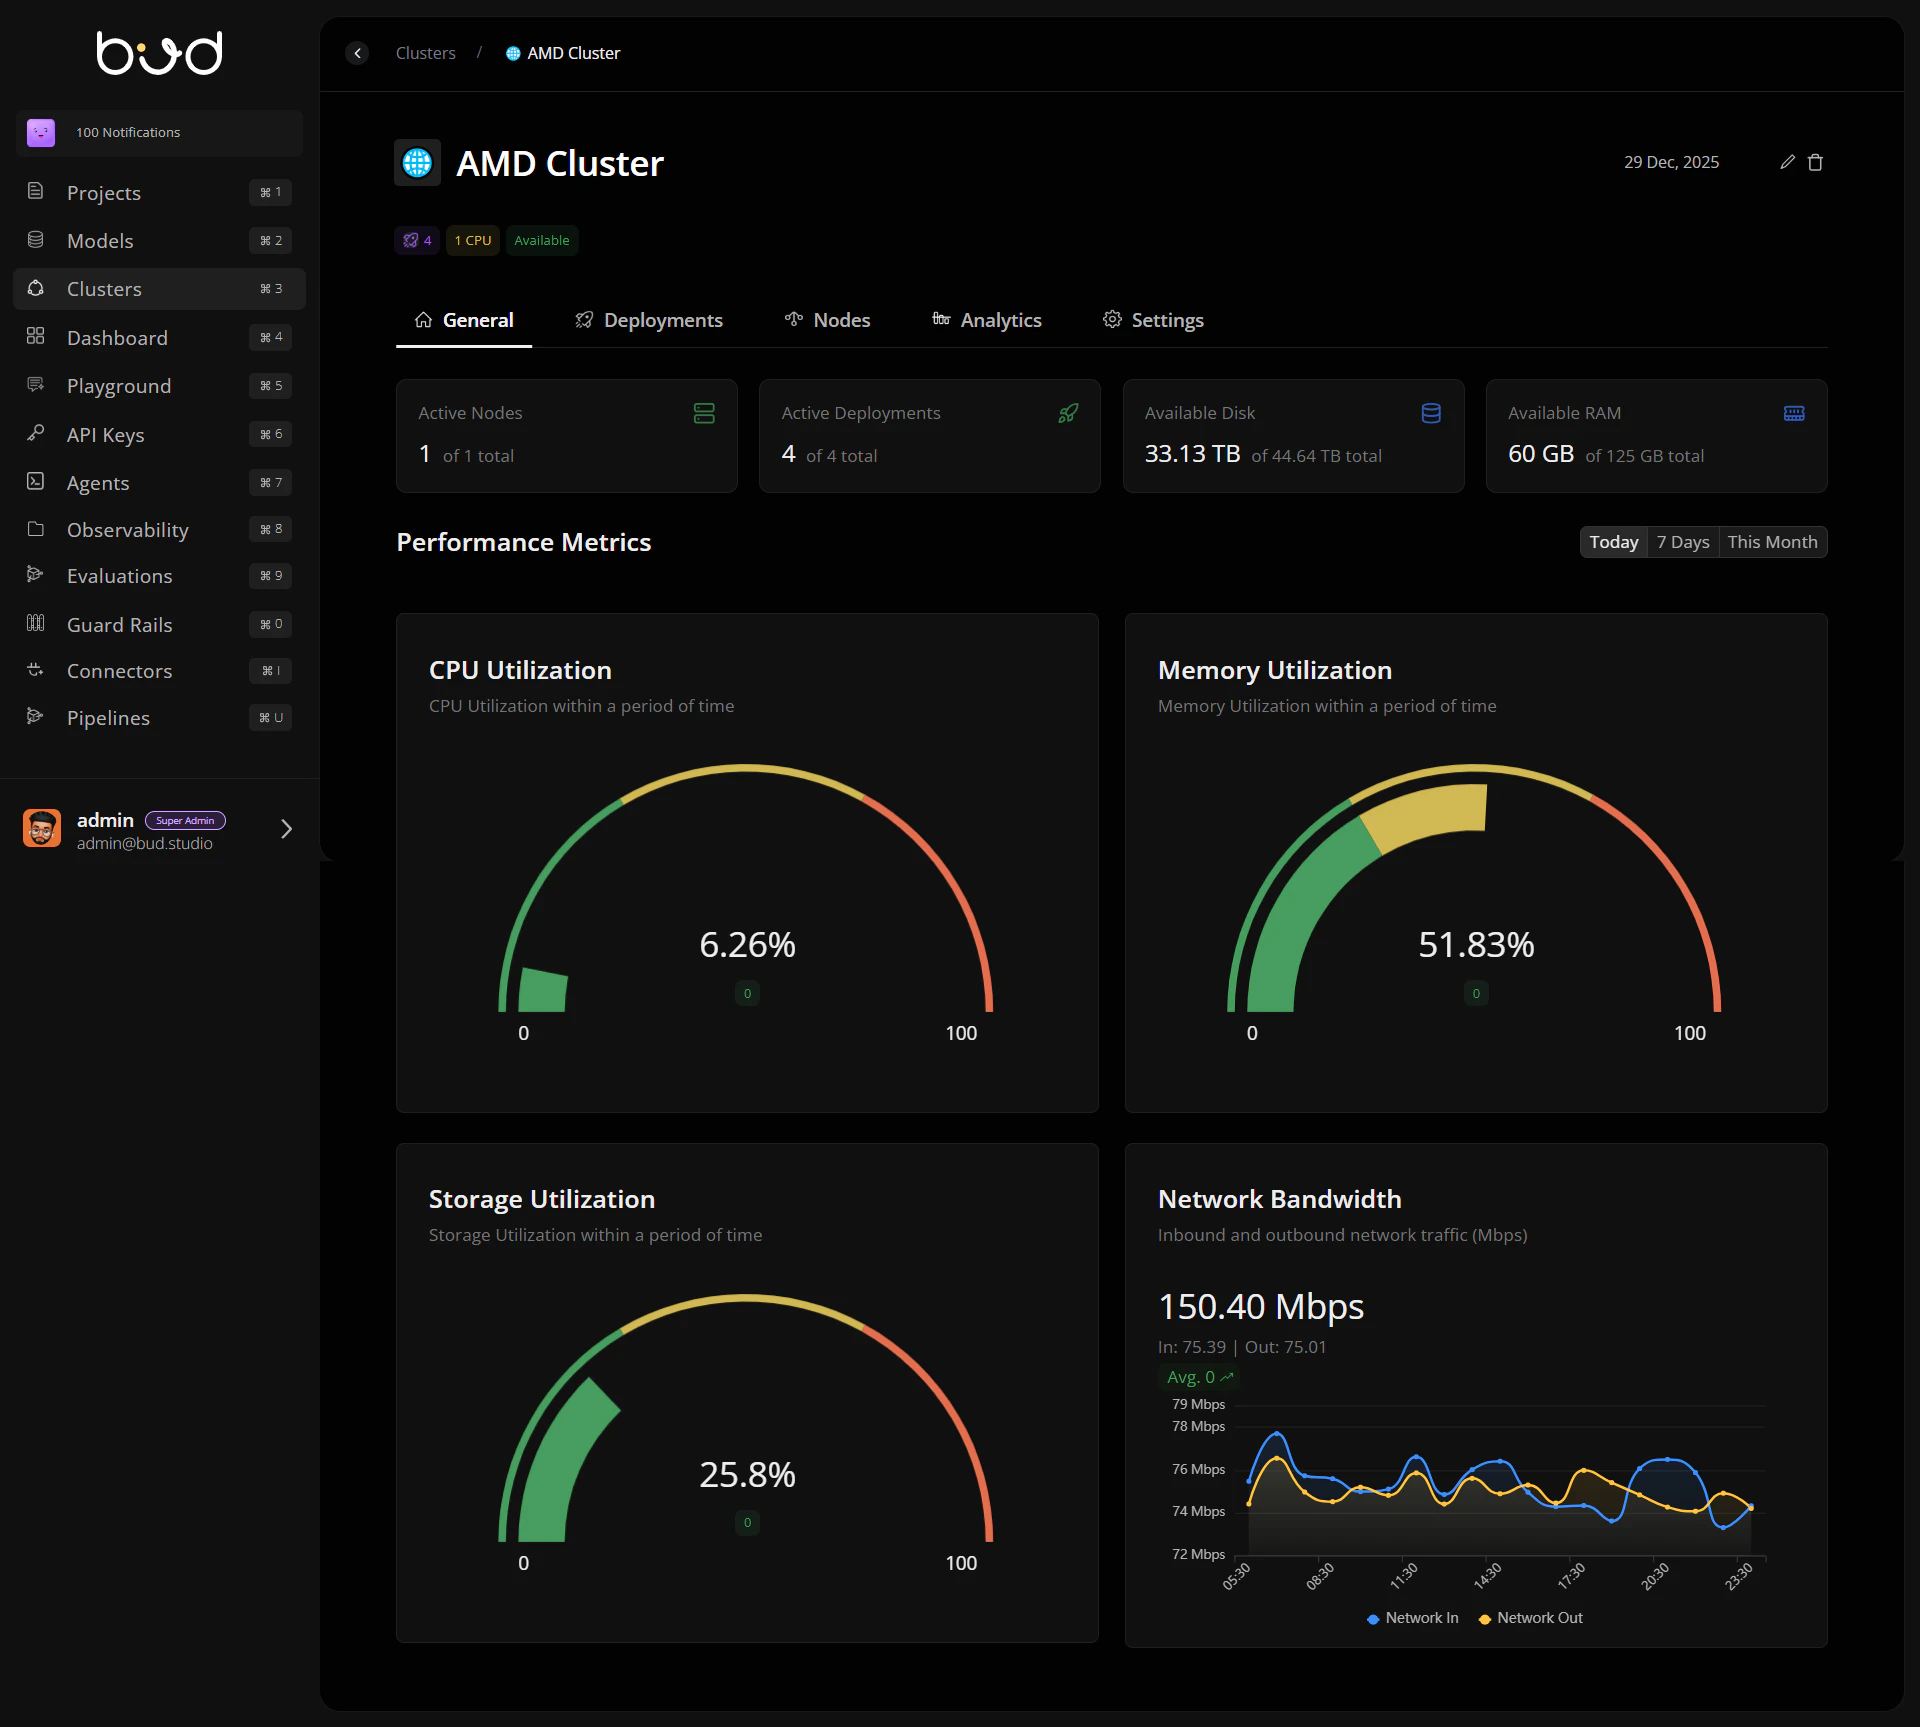
Step 4: Validate General Health
- Open the cluster details page.
- In General, check available nodes and resource summaries.
- Use time filters to compare recent utilization.
Step 5: Inspect Nodes and Events
- Open Nodes tab.
- Validate ready status and request-vs-allocatable signals.
- Use See More on a node to inspect event details.
Step 6: Configure Storage Defaults
- Open Settings tab.
- Select default storage class from discovered options.
- Apply recommended access mode where appropriate.
- Save and verify persistence.
End-to-End Workflow
Operational Checklist
Cluster appears in list and is selectable.
General tab shows healthy resource indicators.
Nodes tab has no unresolved critical events.
Settings are saved with expected storage defaults.
Next Steps
Cluster Operations Guide
Learn day-2 management patterns
Troubleshooting
Handle onboarding and runtime issues quickly