
Create your first MCP server
A virtual server is the publishable MCP endpoint that an agent connects to. It lets you create an agent-specific surface from approved capabilities without modifying the underlying tools, resources, prompts, or connected servers.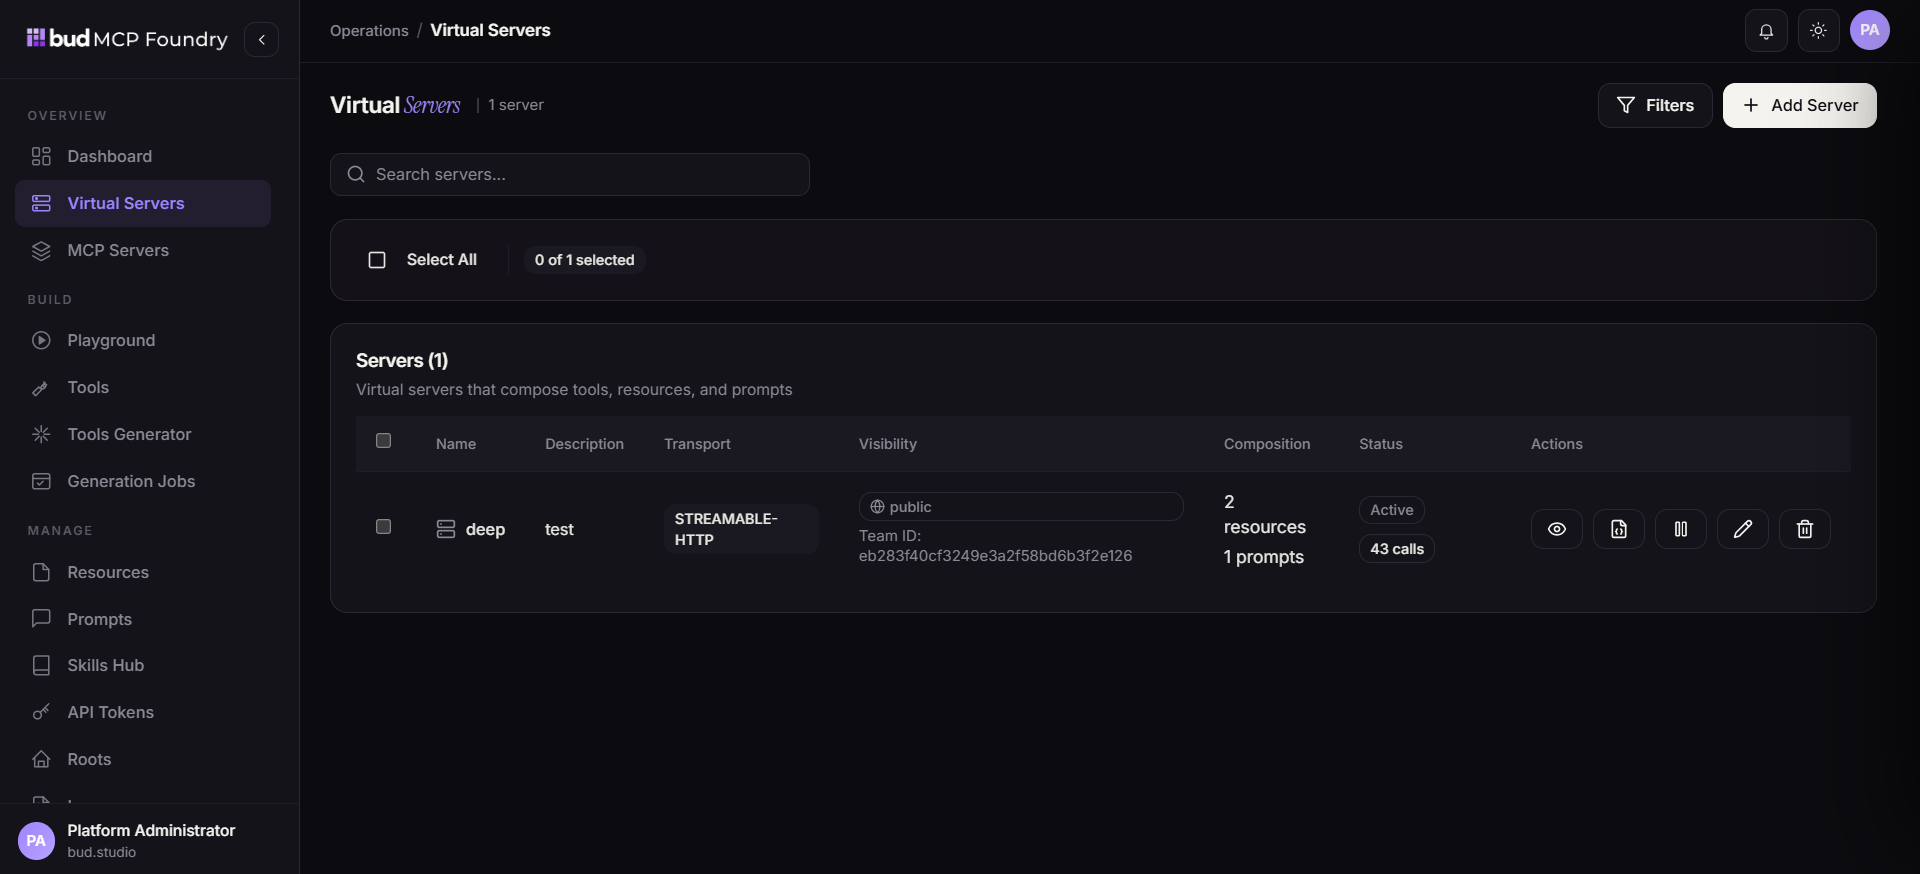
customer-support virtual server that can retrieve a ticket, use a support policy, and follow a standardized response procedure.
Plan the server boundary
Before creating the server, write down the job it is allowed to perform and the minimum capabilities it needs. For this example:
Do not attach tools merely because they are related. A virtual server should expose the smallest useful set of actions and context.
1. Prepare the capabilities
Create or identify the following catalog entries first:- In Tools, create
get_ticketwith a schema that requires a ticket identifier and backend credentials limited to read access. - In Resources, add
support-policyfrom an approved source or inline content. - In Prompts, create
draft_support_replywith declared inputs such asticket_summaryandpolicy_excerpt. - In Skills Hub, create
resolve-support-request, selectget_ticket, and provide markdown instructions covering checks, escalation conditions, and the expected answer format.
2. Create the virtual server
- Open Virtual Servers and select Create Server.
- Enter a distinct name, display name, and description. Explain the server’s intended job in the description.
- Configure the MCP client connection details and choose the server visibility.
- Select the appropriate team or ownership boundary when available.
- Continue to the capability-selection step.
3. Attach and review capabilities
Attach only the prepared tool, resource, prompt, and skill. Confirm the selection carefully: what is attached becomes discoverable by clients authorized to use this virtual server. Before publishing, verify:- Tool schemas reject undeclared or unsafe inputs where appropriate.
- Backend credentials are valid and least-privileged.
- Resource content is current and appropriate for the selected visibility.
- Prompt arguments match the template variables.
- Skill instructions name only tools that are attached and describe escalation paths.
- The server visibility and ownership match the intended audience.
4. Publish and validate
Create the server, then open Playground and select it from the available MCP servers.- Confirm that the catalog contains the expected tool, resource, prompt, and skill—not unrelated items.
- Call
get_ticketwith a test ticket. - Read the policy resource and render or invoke the prompt with safe test inputs.
- Exercise the skill workflow using a scenario that should succeed and one that should escalate.
- Review logs, latency, and error details before granting broader access.