Step 1: Open Project Deployments
- Go to Projects and open your target project.
- Select the Deployments tab.
- Confirm you can view existing endpoints and action controls.
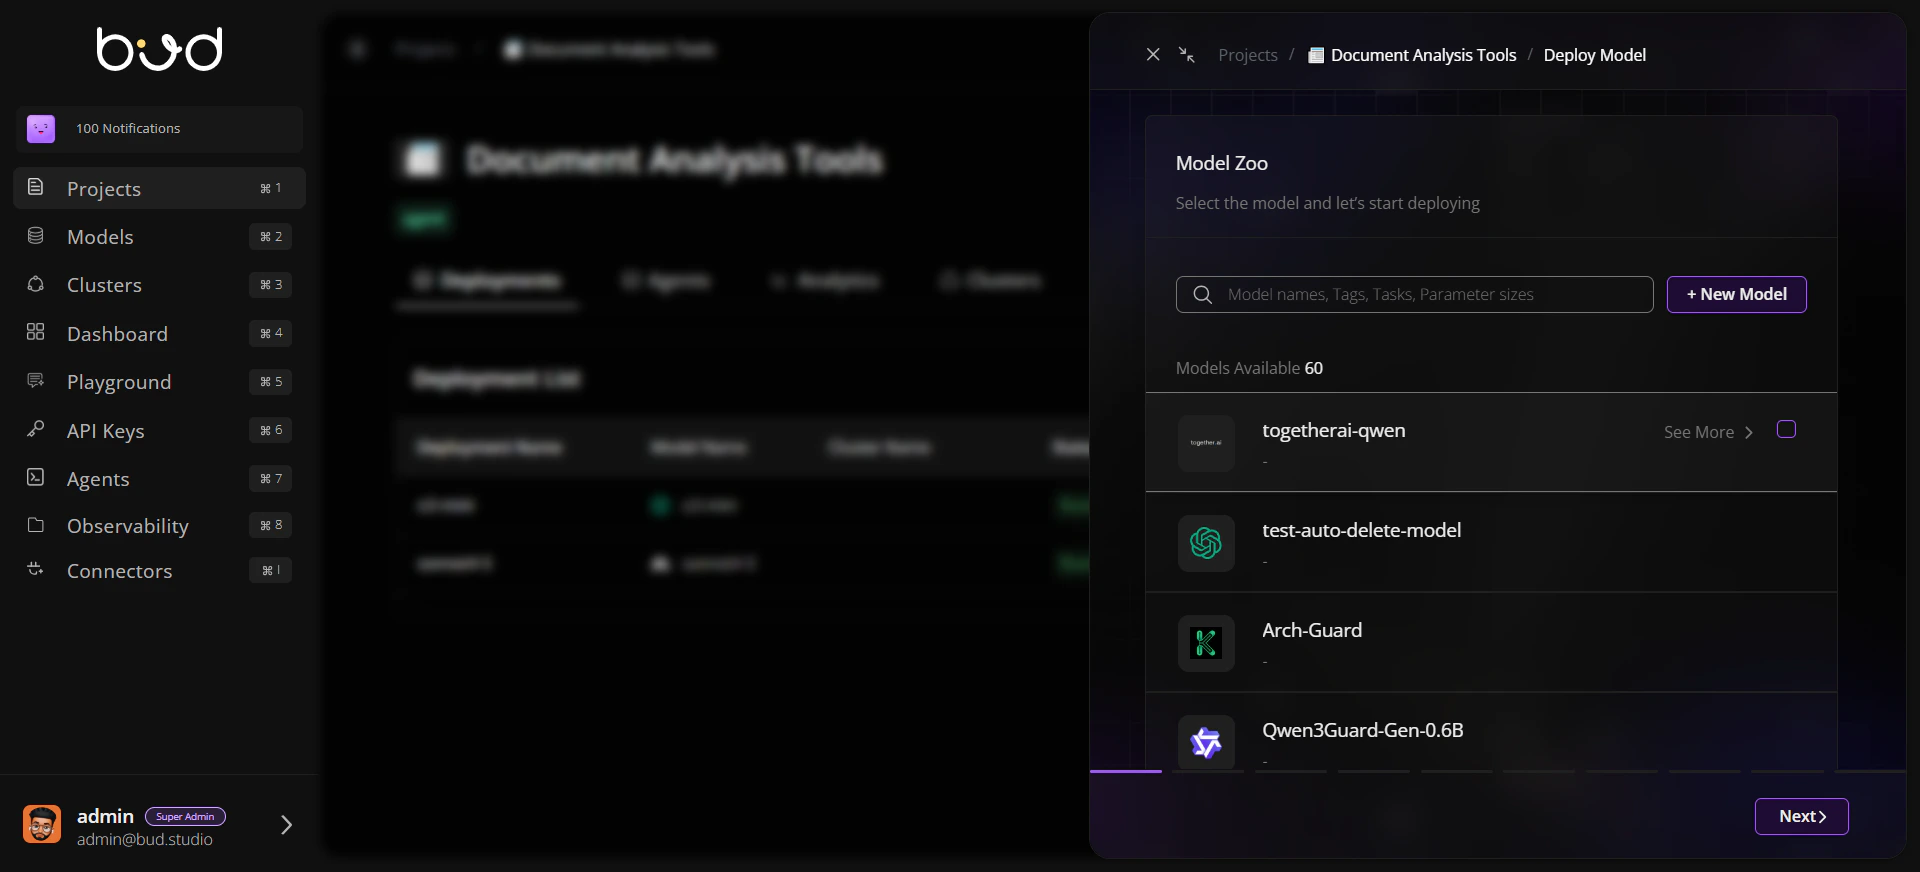
Step 2: Create a Deployment
- Click Deploy Model.
- Choose a model (cloud or local).
- Select cluster and runtime profile.
- Set deployment name and performance targets.
- Submit the deployment request.
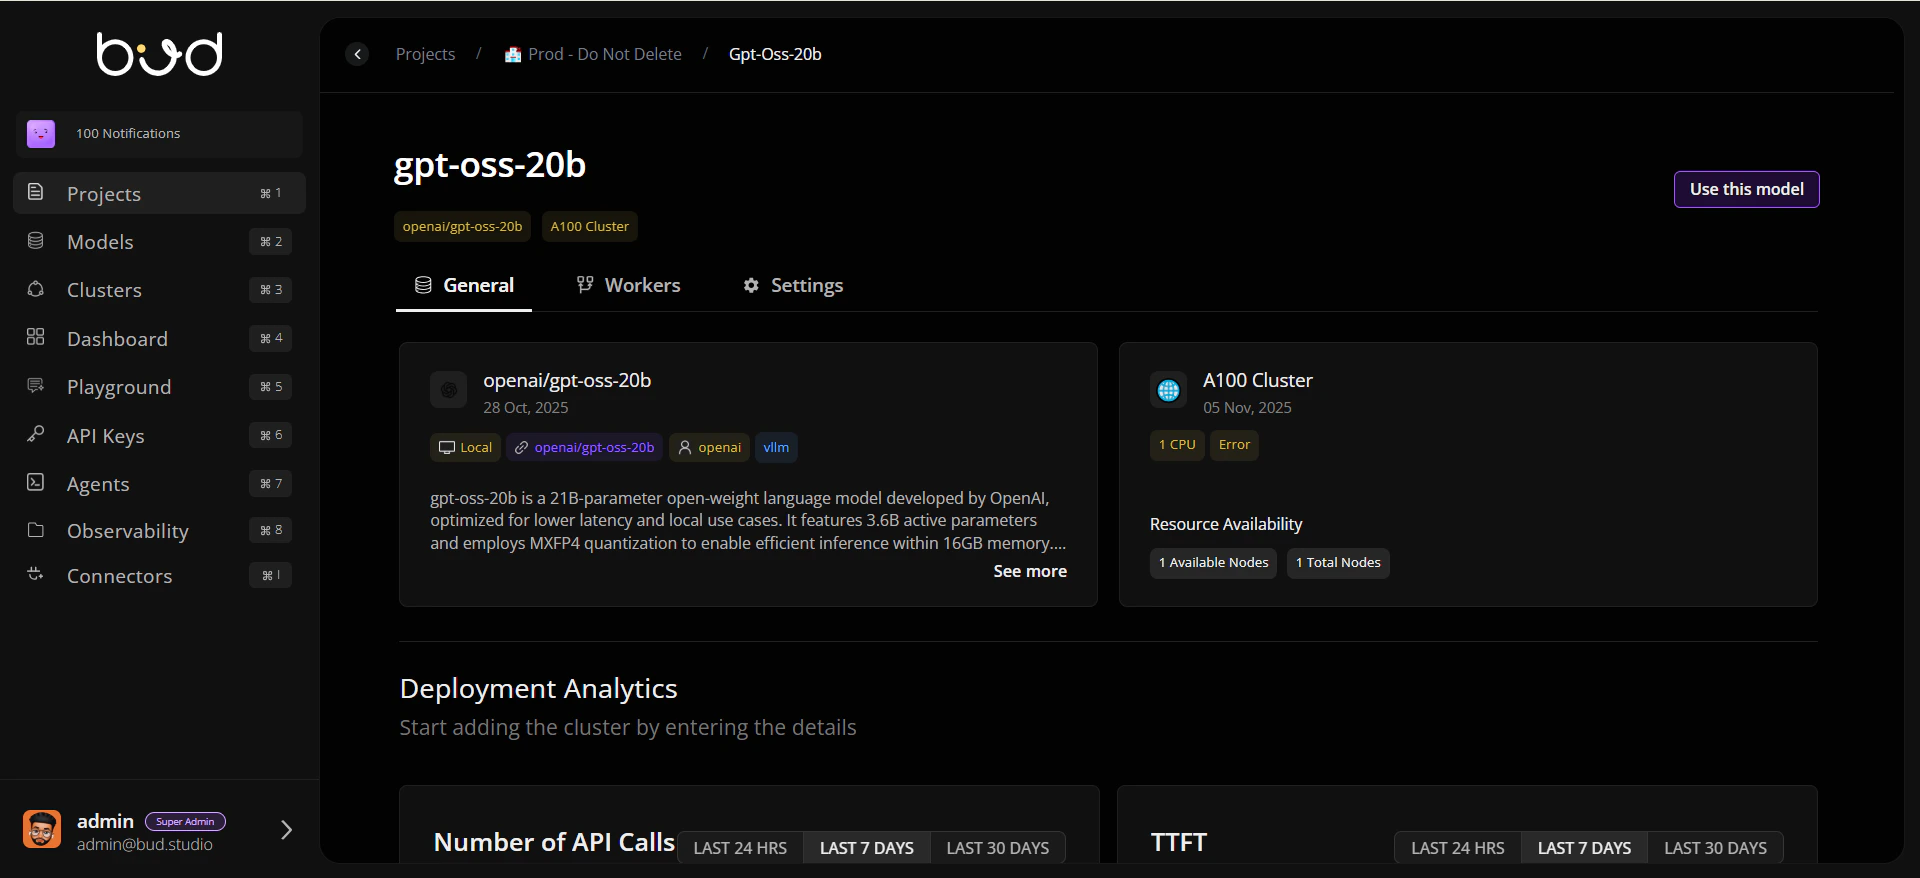
Step 3: Validate Deployment Readiness
- Open the deployment detail page.
- Review the General tab for status and metadata.
- If this is a local deployment, check Workers for node health.
Step 4: Configure Reliability
- Open Settings.
- Enable and configure rate limiting strategy.
- Add retries and fallback deployment chain if needed.
- Save your settings.
Step 5: Use the Endpoint
- Return to the deployment row (or open General tab actions).
- Click Use this model.
- Copy cURL, Python, or JavaScript snippets.
- Run a test call in your app or API client.
Step 6: Publish for Customer Dashboard (Optional)
- Return to the Deployments list.
- Click Publish for the target deployment.
- Set pricing details and confirm publication.
- Verify the model appears in the Customer Dashboard portal catalog.
Quick Start Flow
Next Steps
Creating Your First Deployment
Full guided walkthrough with practical configuration tips
Troubleshooting
Resolve common deployment, endpoint usage, and publish issues