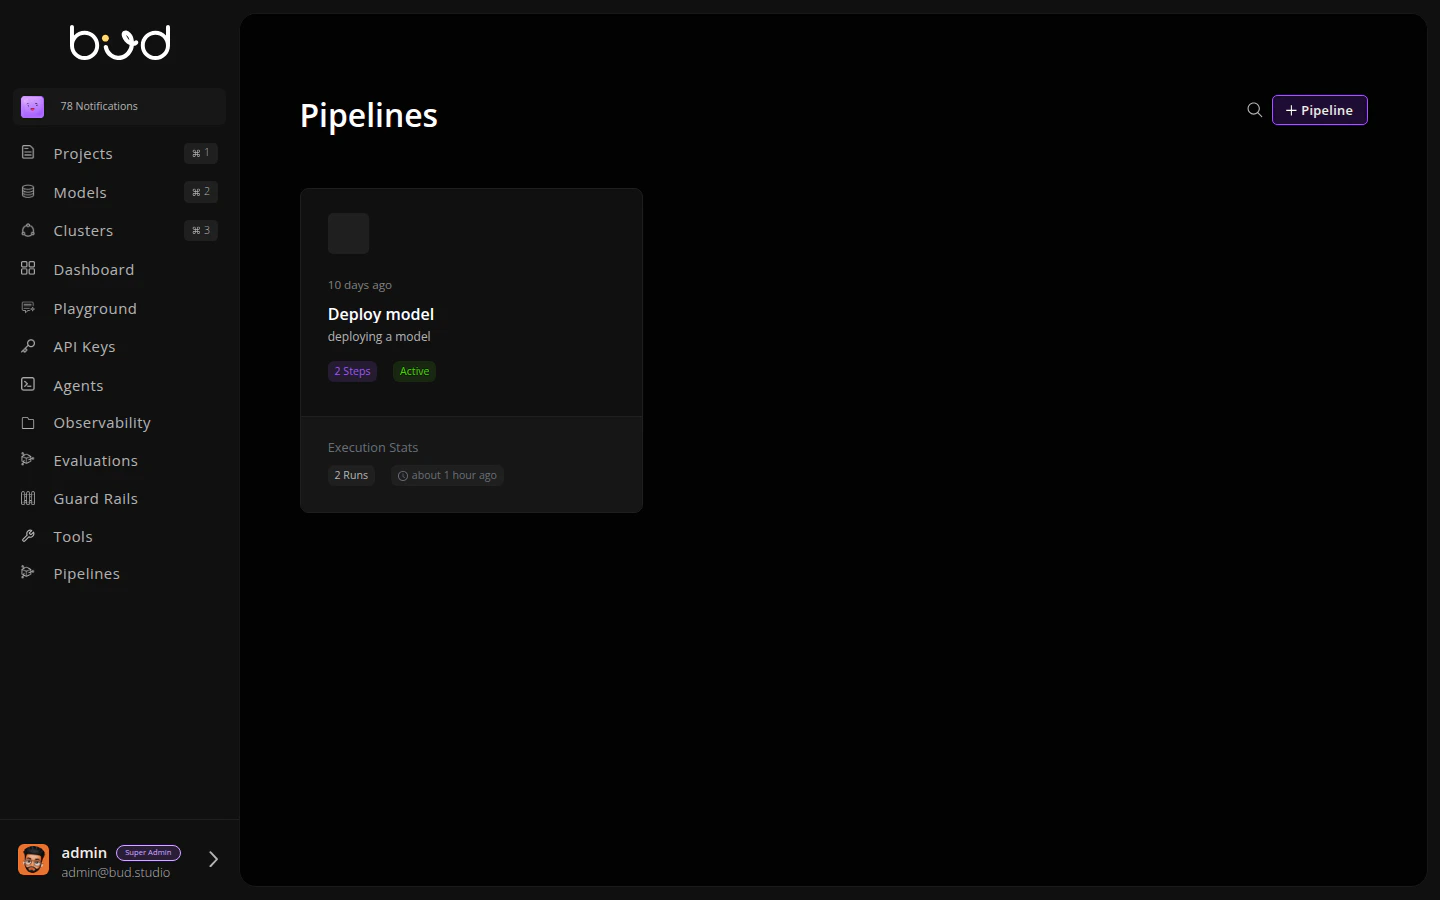
Step 1: Navigate to Pipelines
- Log in to Bud AI Foundry
- Click Pipelines in the left sidebar
- Click the + Pipeline button
Step 2: Name Your Pipeline
- Enter a name: “Model Deployment Pipeline”
- Add a description: “Add and deploy a model from HuggingFace”
- Click Create
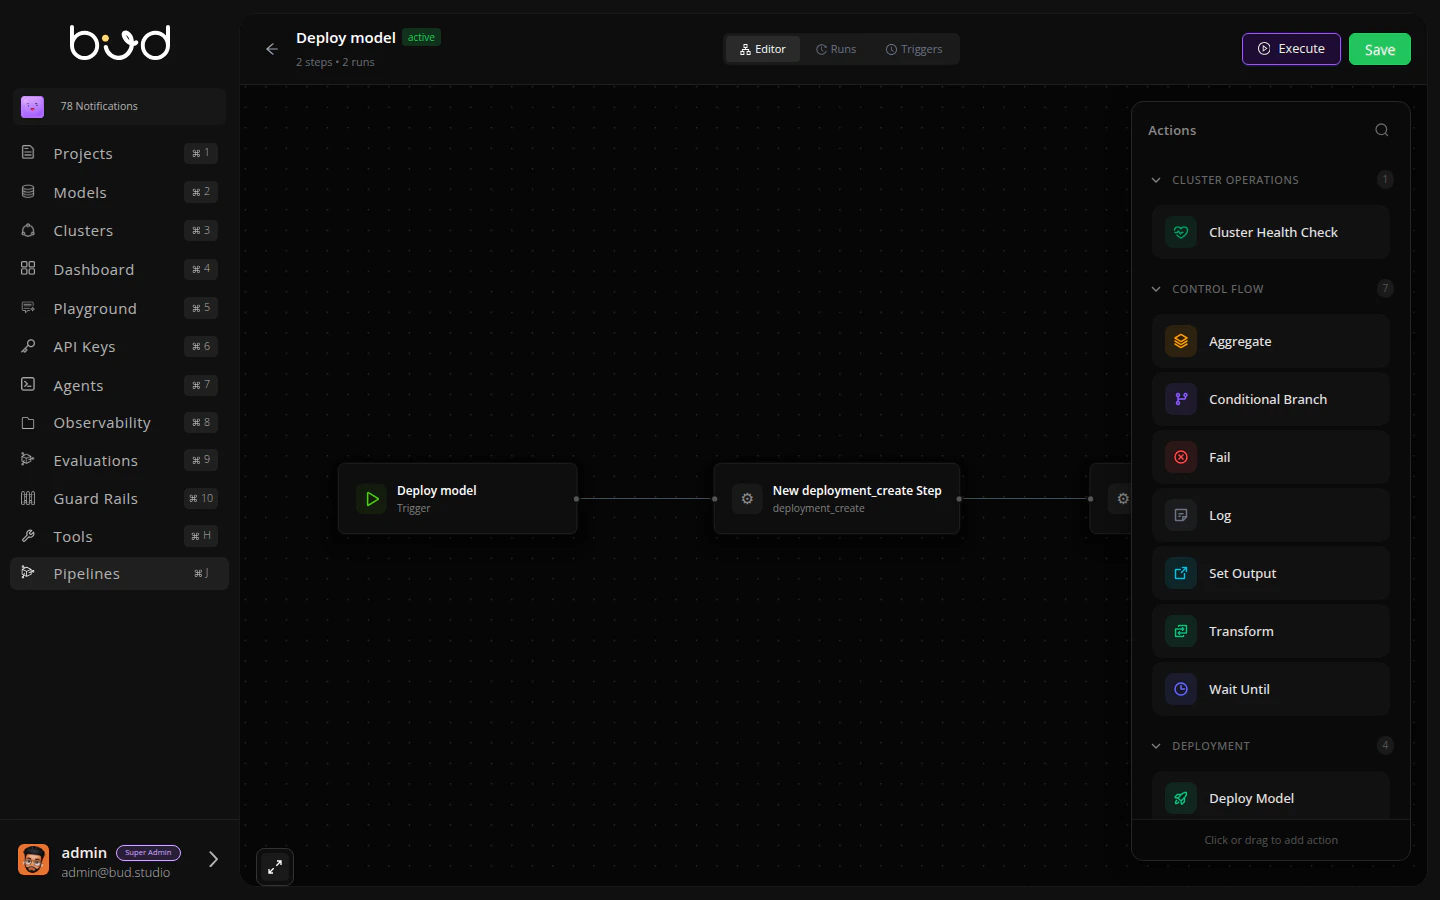
Step 3: Add Actions
The pipeline editor opens with a visual canvas. Let’s build the workflow:Add Model Action
- From the Actions panel on the right, expand Model Operations
- Drag Add Model onto the canvas
- Click the action to configure it:
- Model URI:
meta-llama/Llama-3.2-1B-Instruct - Model Name:
Llama-3.2-1B-Instruct - Model Source:
hugging_face
- Model URI:
- Click Save
Deploy Model Action
- From the Actions panel, expand Deployment
- Drag Deploy Model onto the canvas
- Connect the actions: click the dot on Add Model and drag to Deploy Model
- Configure the deployment:
- Model ID:
steps.add_model.output.model_id - Cluster ID: Select your cluster from dropdown
- Deployment Name:
llama-deployment
- Model ID:
- Click Save
Add Set Output
- Drag Set Output action after Deploy Model
- Connect Deploy Model → Set Output
- Configure:
- Key: “endpoint_url”
- Value:
steps.deploy_model.output.endpoint_url
- Click Save
Step 4: Execute the Pipeline
- Click the Execute button in the top-right
- Click Run
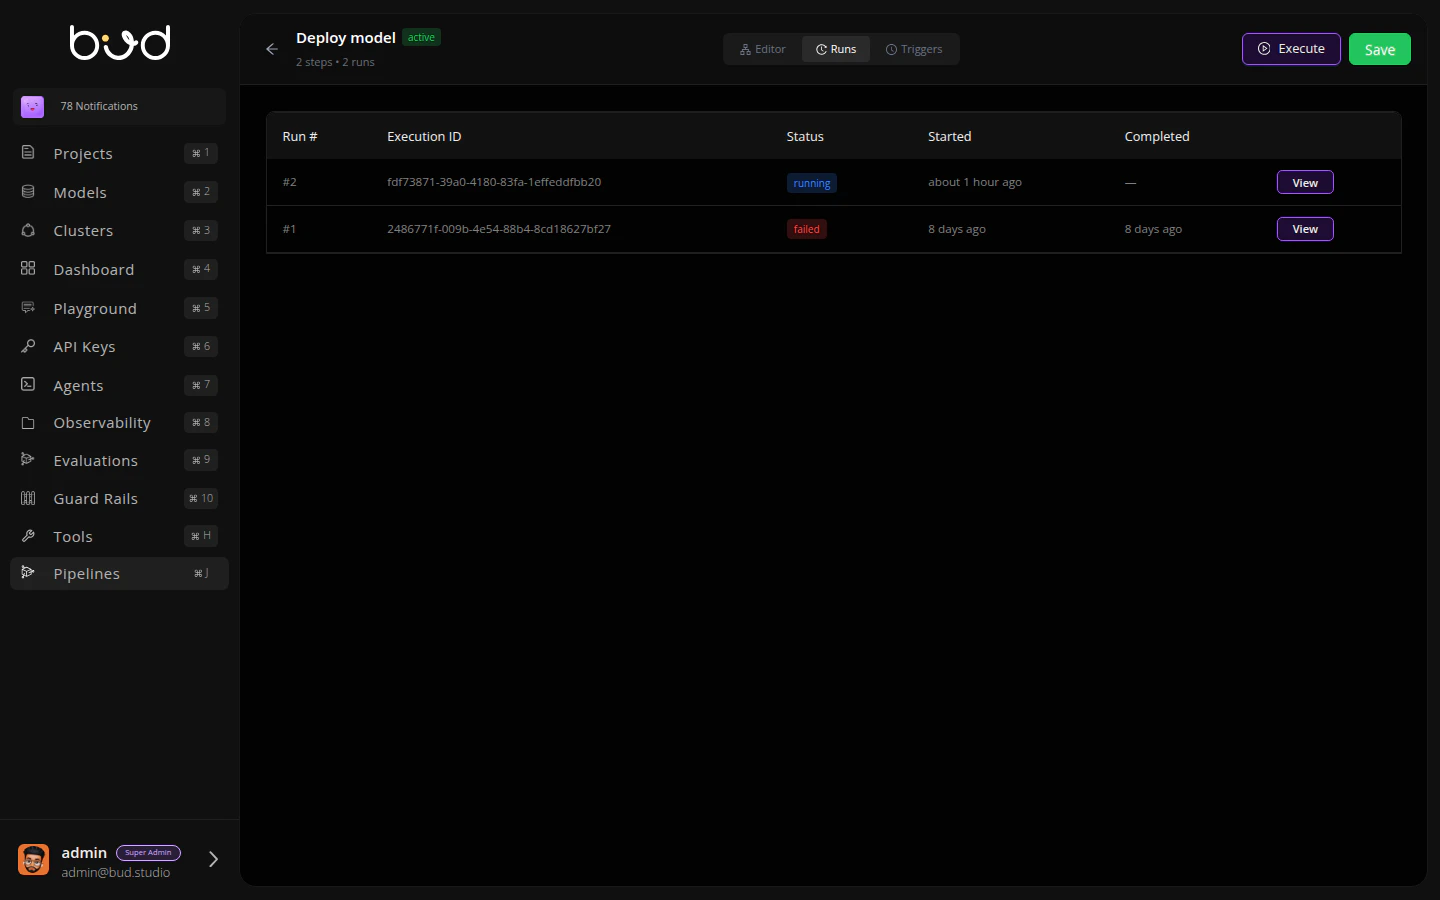
Step 5: Monitor Execution
- Click the Runs tab
- You’ll see your execution progress through each step
- Click View to see detailed logs and outputs
Using the SDK
You can also create and execute pipelines programmatically:Next Steps
Pipeline Concepts
Learn about DAGs and action types
Detailed Tutorial
Build more complex workflows
Troubleshooting
Common issues and solutions