> ## Documentation Index
> Fetch the complete documentation index at: https://docs.budecosystem.com/llms.txt
> Use this file to discover all available pages before exploring further.
# Creating Your First Project
> Step-by-step guide to create a project and operationally prepare it
This guide walks through a practical setup flow for your first Bud AI Foundry project.
## Before You Start
Make sure you have permission to create and manage projects in your workspace.
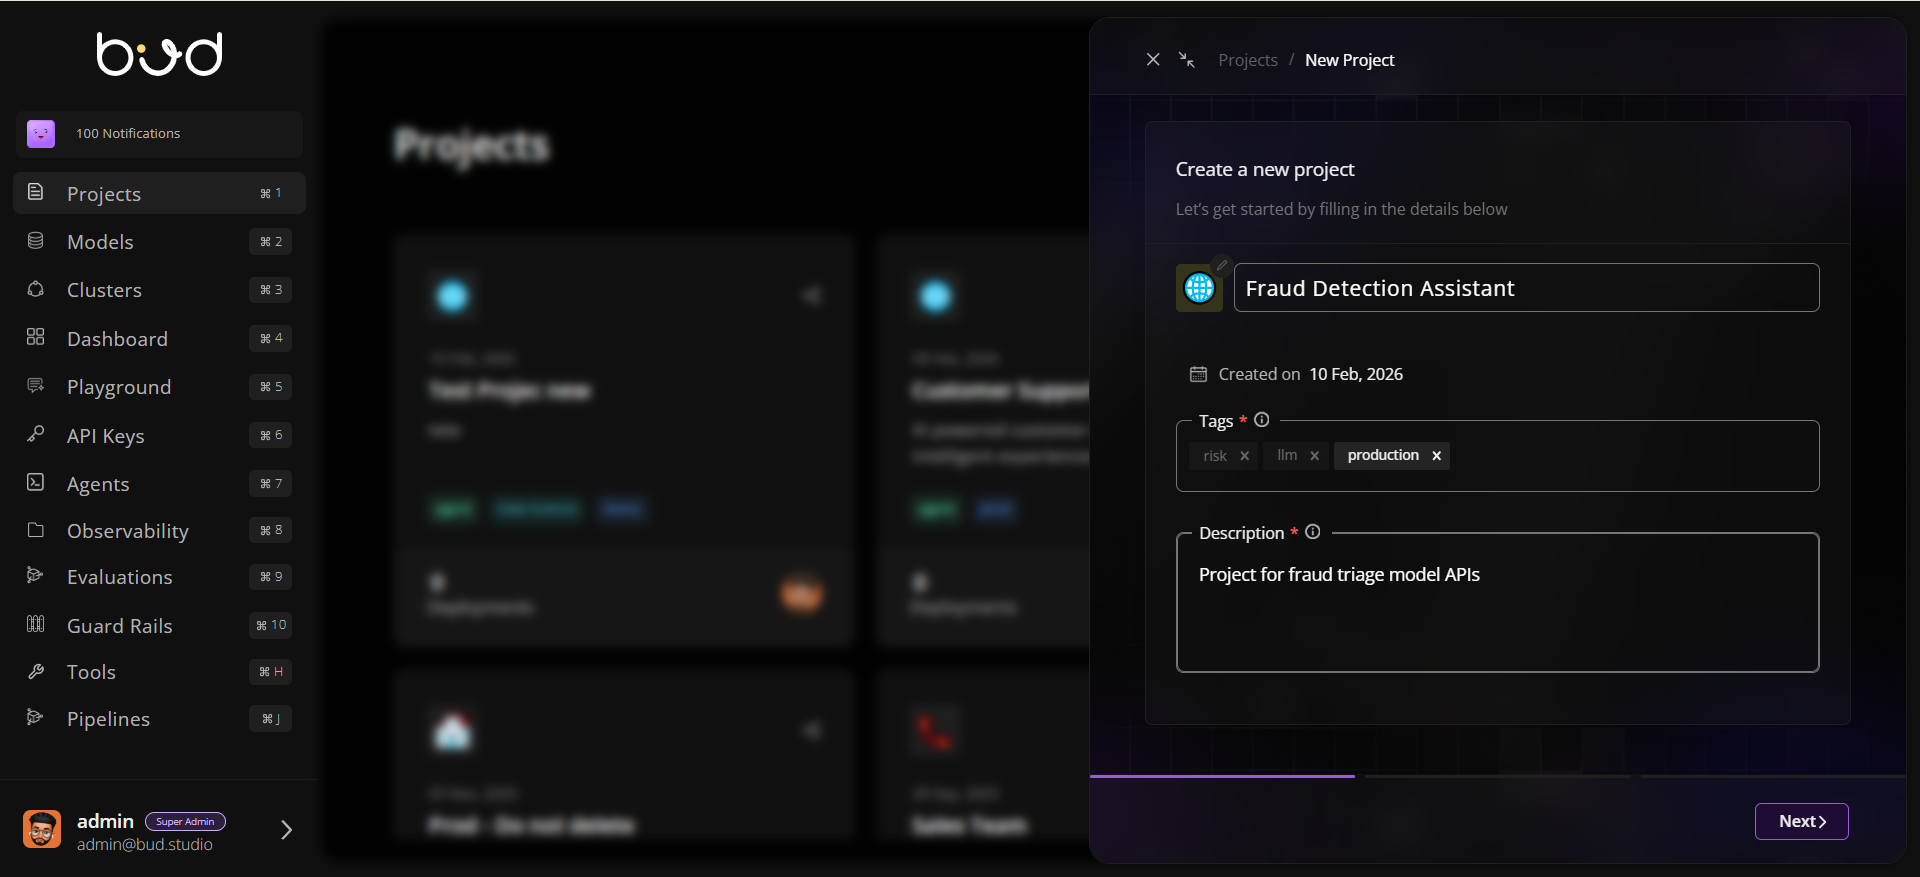
## 1. Create the Project Record
1. Open **Projects**.
2. Click **+ Project**.
3. Fill in:
* **Name**: `Fraud Detection Assistant`
* **Description**: `Project for fraud triage model APIs`
* **Tags**: `risk`, `production`, `llm`
4. Click **Next** to create project.
5. Proceed to the Invite members step.
 ## 2. Add Team Members
1. Open the new project.
2. Click **Share/Invite**.
3. Add users and assign view/manage scopes.
4. Confirm invited members appear in project access controls.
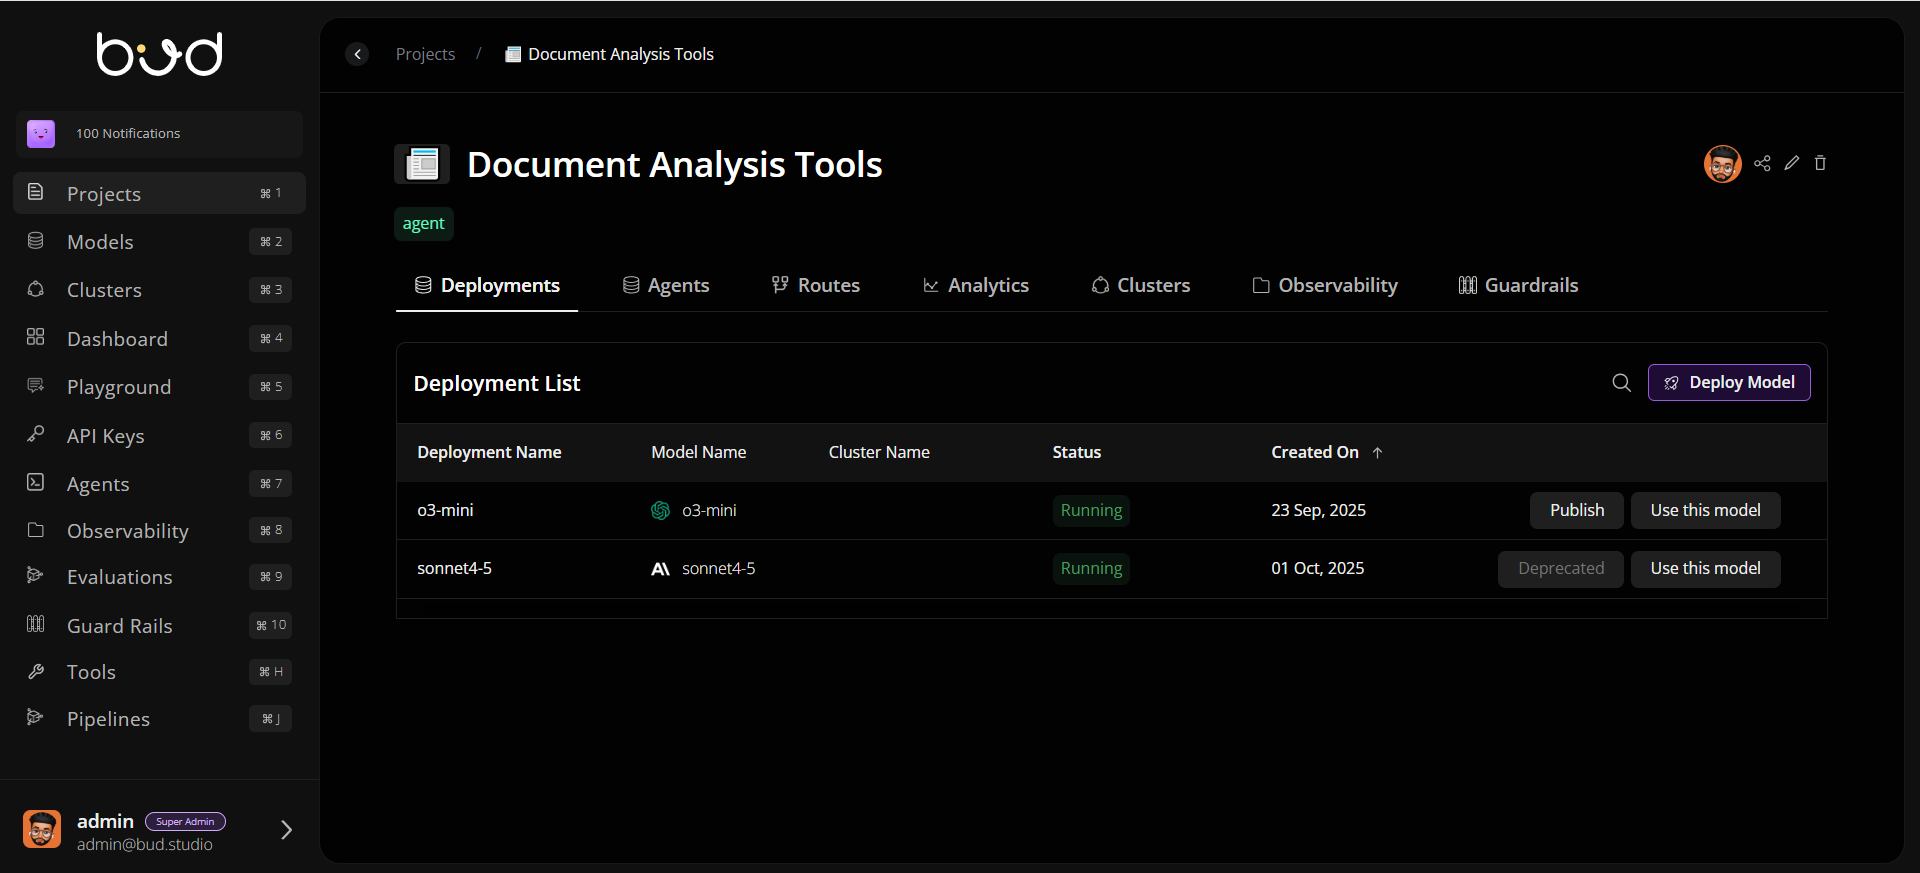
## 3. Deploy a Model in the Project
1. Go to the **Deployments** tab.
2. Create a deployment and select:
* Model source (for example Hugging Face or cloud provider)
* Target cluster
* Deployment name
3. Save and wait for deployment status to become healthy/ready.
## 2. Add Team Members
1. Open the new project.
2. Click **Share/Invite**.
3. Add users and assign view/manage scopes.
4. Confirm invited members appear in project access controls.
## 3. Deploy a Model in the Project
1. Go to the **Deployments** tab.
2. Create a deployment and select:
* Model source (for example Hugging Face or cloud provider)
* Target cluster
* Deployment name
3. Save and wait for deployment status to become healthy/ready.
 ## 4. Configure Deployment Settings
Open deployment **Settings** and configure:
* **Rate limits** to protect capacity
* **Retry/fallback** rules for resiliency
* **Autoscaling** minimum/maximum replicas and trigger metrics
## 5. Add Route Logic
1. Open the **Routes** tab.
2. Create a route and select strategy (for example simple shuffle or least busy).
3. Attach one or more eligible deployments.
4. Save and validate route status.
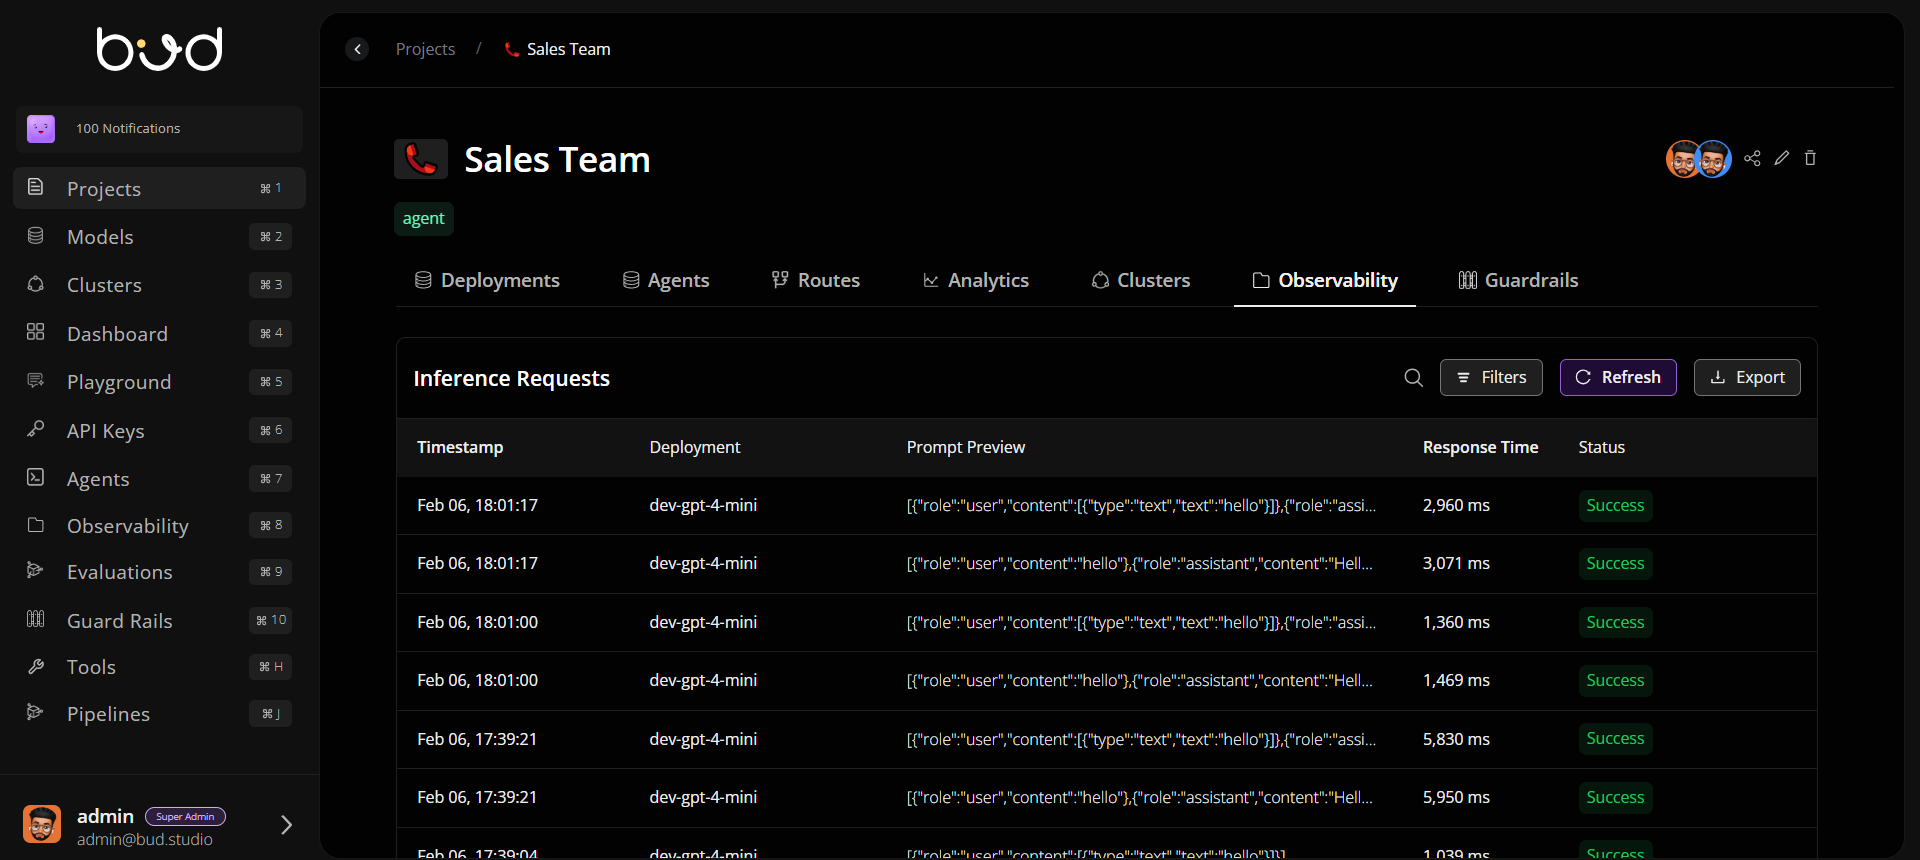
## 6. Validate Analytics and Observability
1. Open **Analytics** to inspect baseline latency/throughput.
2. Open **Observability** to verify runtime event visibility.
3. Confirm traffic and error patterns are visible before broad rollout.
## 4. Configure Deployment Settings
Open deployment **Settings** and configure:
* **Rate limits** to protect capacity
* **Retry/fallback** rules for resiliency
* **Autoscaling** minimum/maximum replicas and trigger metrics
## 5. Add Route Logic
1. Open the **Routes** tab.
2. Create a route and select strategy (for example simple shuffle or least busy).
3. Attach one or more eligible deployments.
4. Save and validate route status.
## 6. Validate Analytics and Observability
1. Open **Analytics** to inspect baseline latency/throughput.
2. Open **Observability** to verify runtime event visibility.
3. Confirm traffic and error patterns are visible before broad rollout.
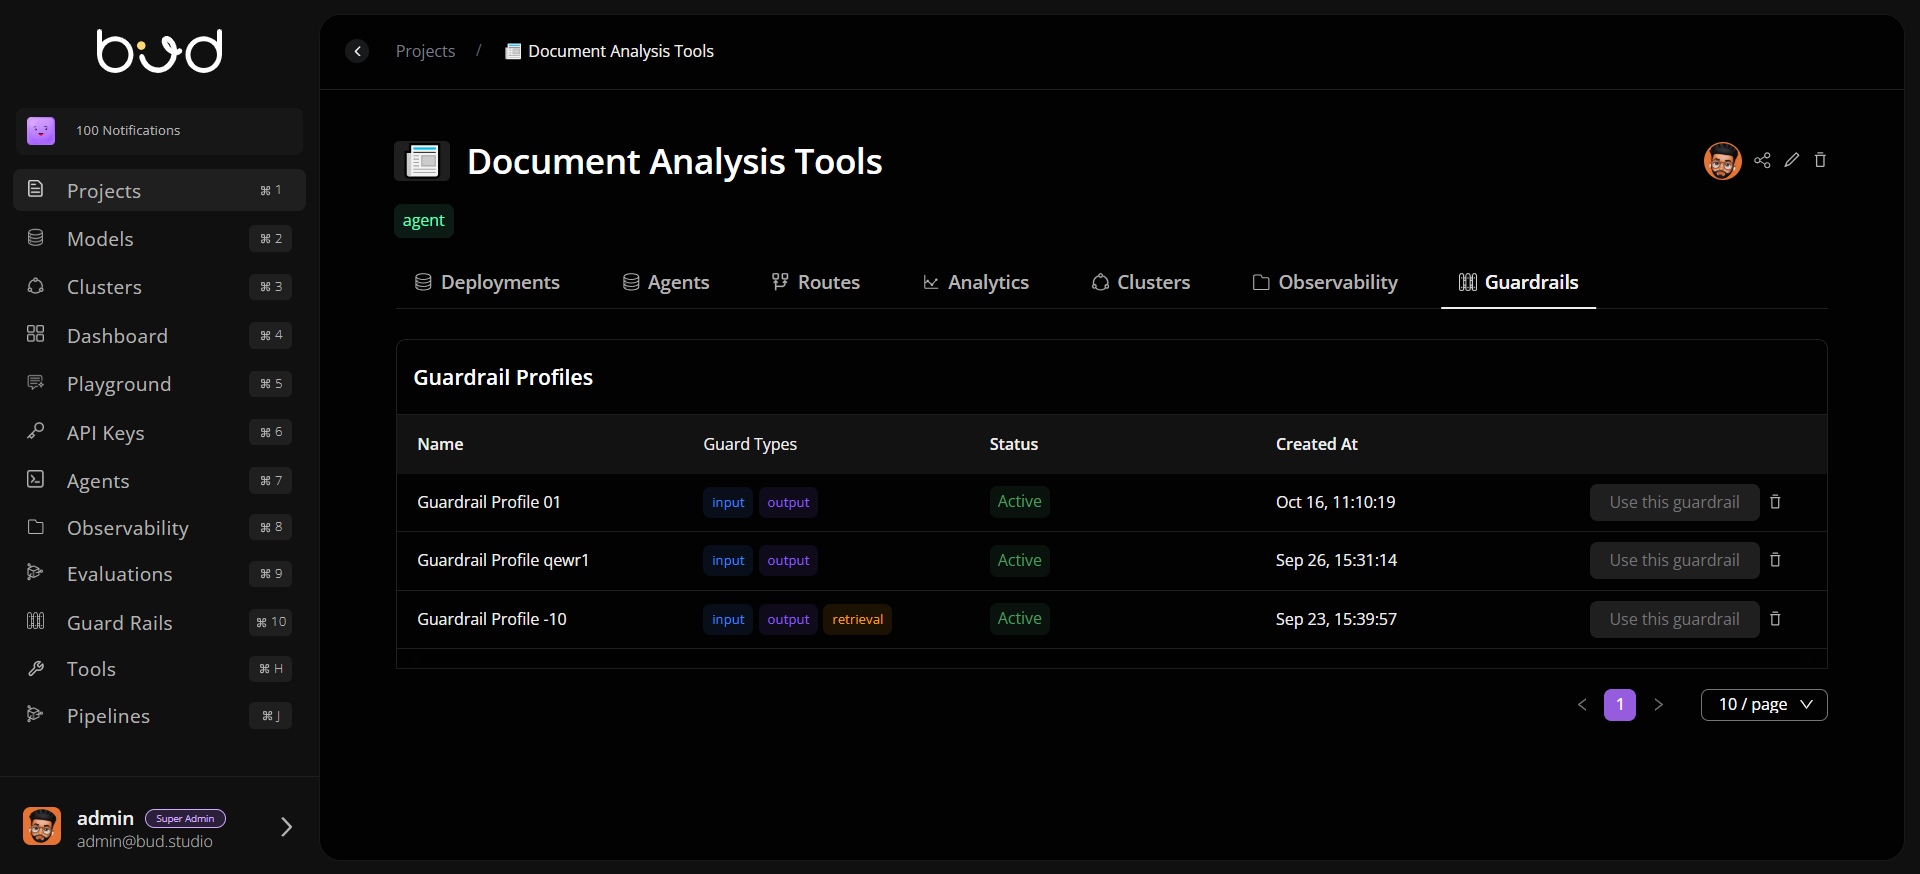
 ## 7. Apply Guardrails
1. Open **Guardrails**.
2. Attach required safety or compliance policies.
3. Verify policies are active and aligned with project requirements.
## 7. Apply Guardrails
1. Open **Guardrails**.
2. Attach required safety or compliance policies.
3. Verify policies are active and aligned with project requirements.
 ## Completion Checklist
* Project created with metadata
* Team members invited with scoped permissions
* At least one deployment running
* Route configured to active deployment
* Analytics and observability validated
* Guardrails applied
## Creation-to-Readiness Flow
```mermaid theme={null}
flowchart LR
A[Create Project] --> B[Set Metadata]
B --> C[Invite Team]
C --> D[Open Deployments]
D --> E[Create Endpoint]
E --> F[Review Health & Settings]
```
## Completion Checklist
* Project created with metadata
* Team members invited with scoped permissions
* At least one deployment running
* Route configured to active deployment
* Analytics and observability validated
* Guardrails applied
## Creation-to-Readiness Flow
```mermaid theme={null}
flowchart LR
A[Create Project] --> B[Set Metadata]
B --> C[Invite Team]
C --> D[Open Deployments]
D --> E[Create Endpoint]
E --> F[Review Health & Settings]
```